Installation
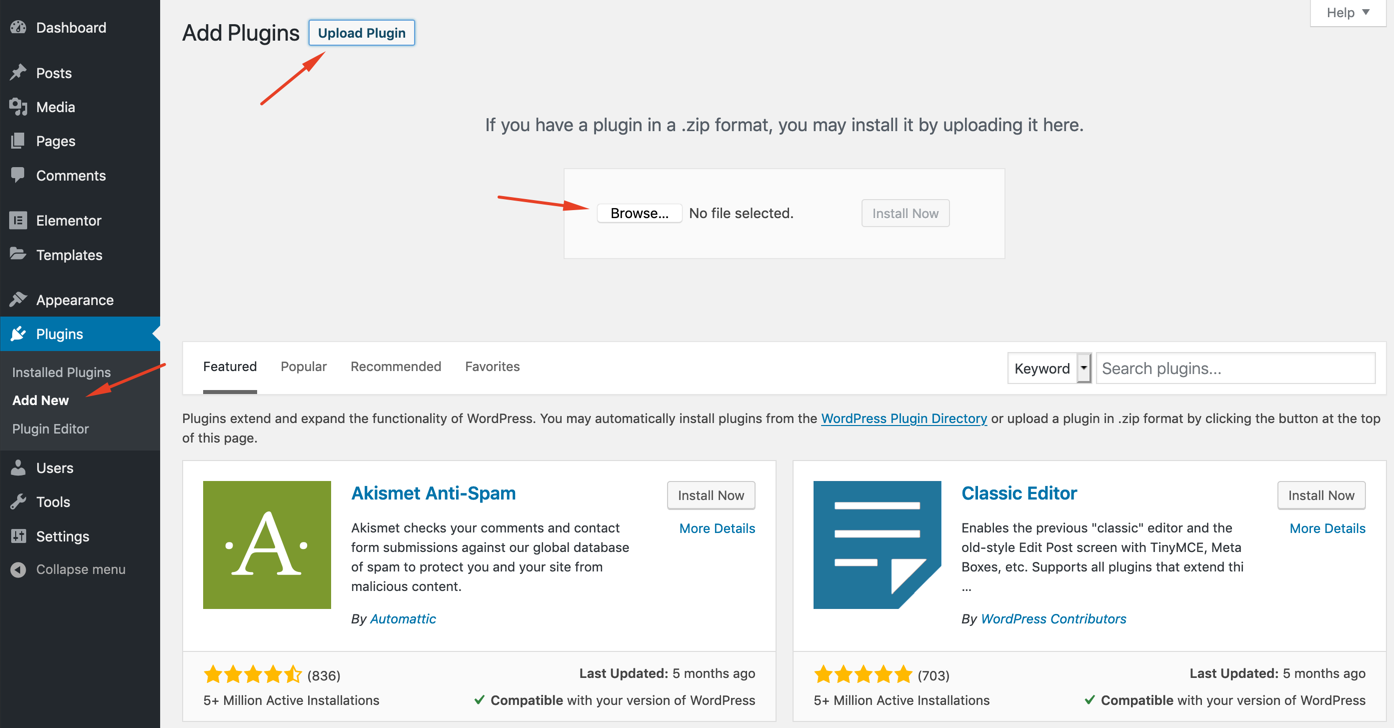
The first thing you need to do when you want to install a new WordPress plugin is to login to your site admin page. Once there, go to Plugins -> Add New. Simply click on the Upload Plugin button. Upload the zip file from your local hard drive and activate the plugin.
Importing Templates
If you don't want to start from scratch, you can import ready to use Elementor templates. First of all, download the demo zip file from your account.
Open the zip file. You will find the following "json" files;

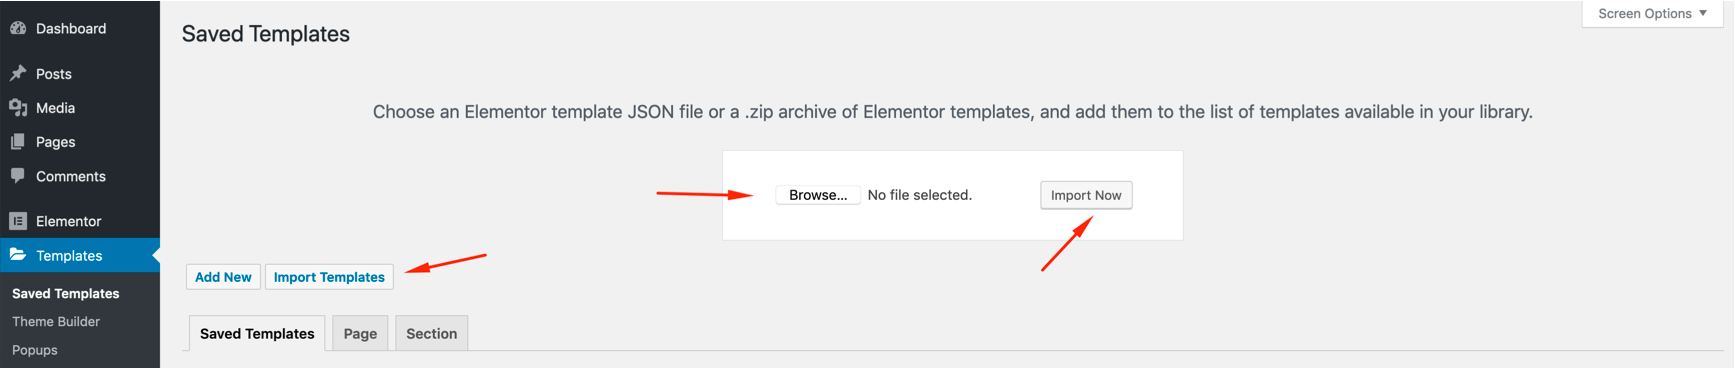
You can upload these templates to your website from Templates -> Import Templates.
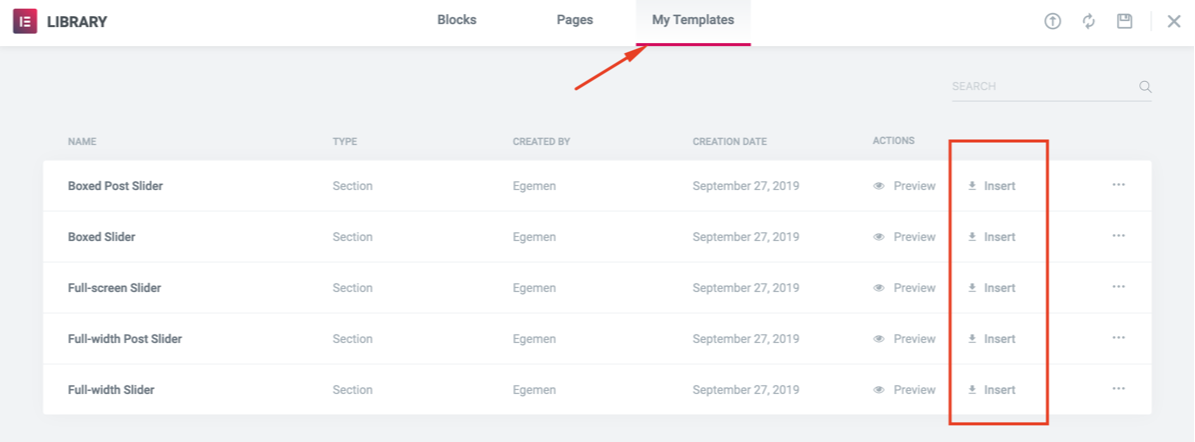
Click on the "folder" icon on the widget field. A new popup window will appear. Open "My Templates" tab and insert any template as you want. To display the galleries properly, you may need to play with the settings of your Elementor sections and columns.

Widget Settings
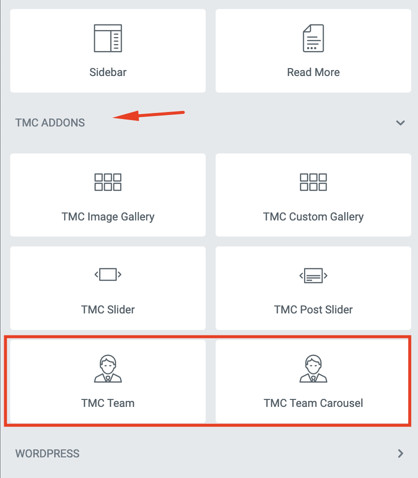
There are 2 widget in TMC Team addon. Most of the settings of these widgets are the same.
TMC Team: Displays your team members in a masonry layout. To display a single person, select one column from widget settings.
TMC Team Carousel: Displays your team members in a carousel.
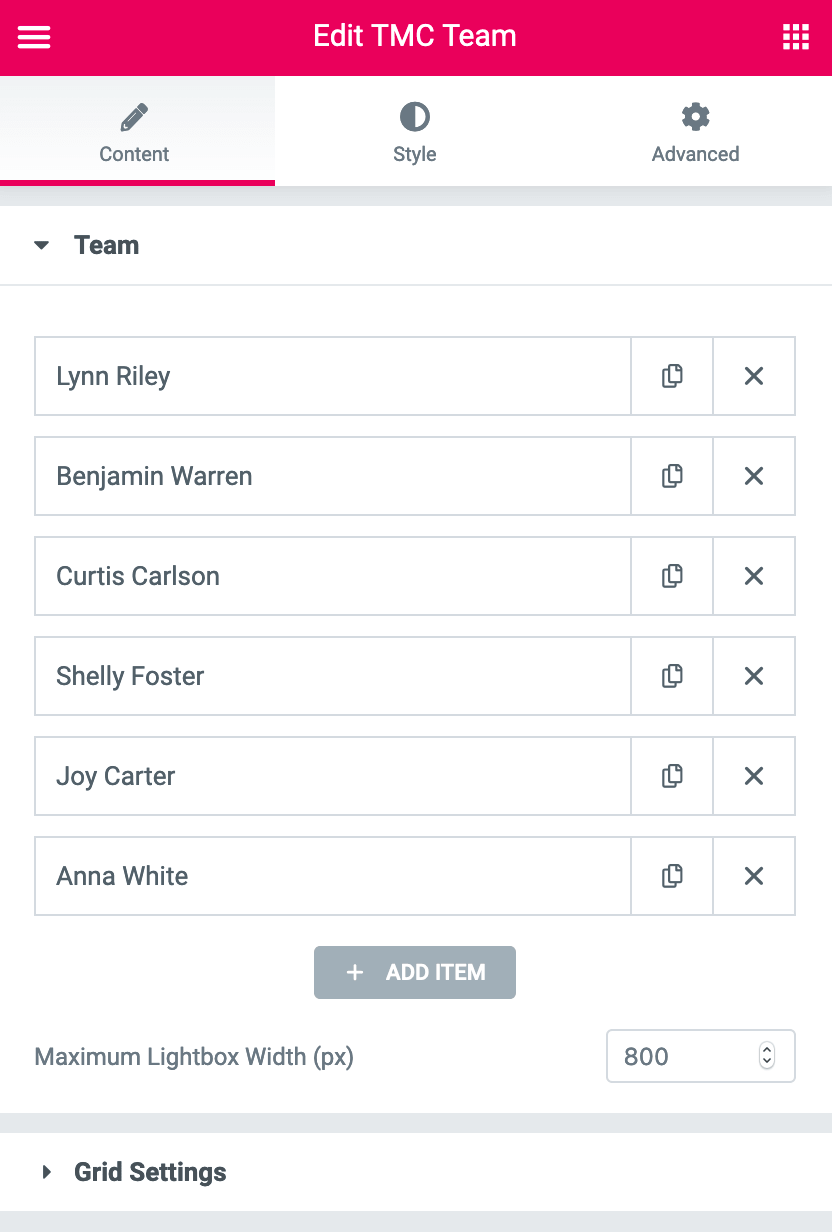
Content
Team: You can add your team members from this section.
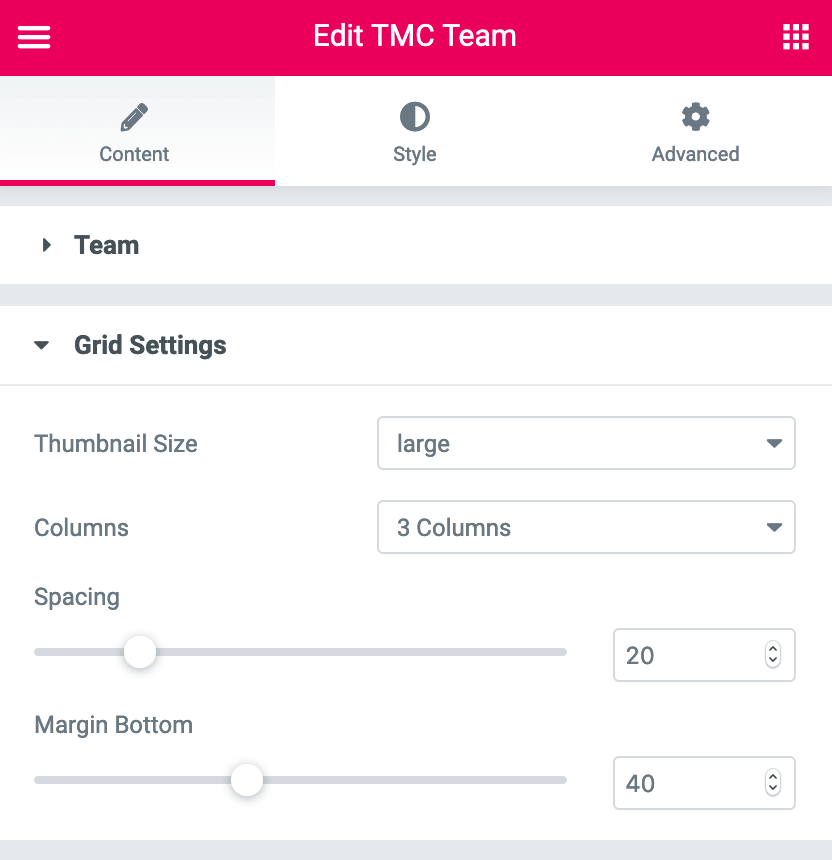
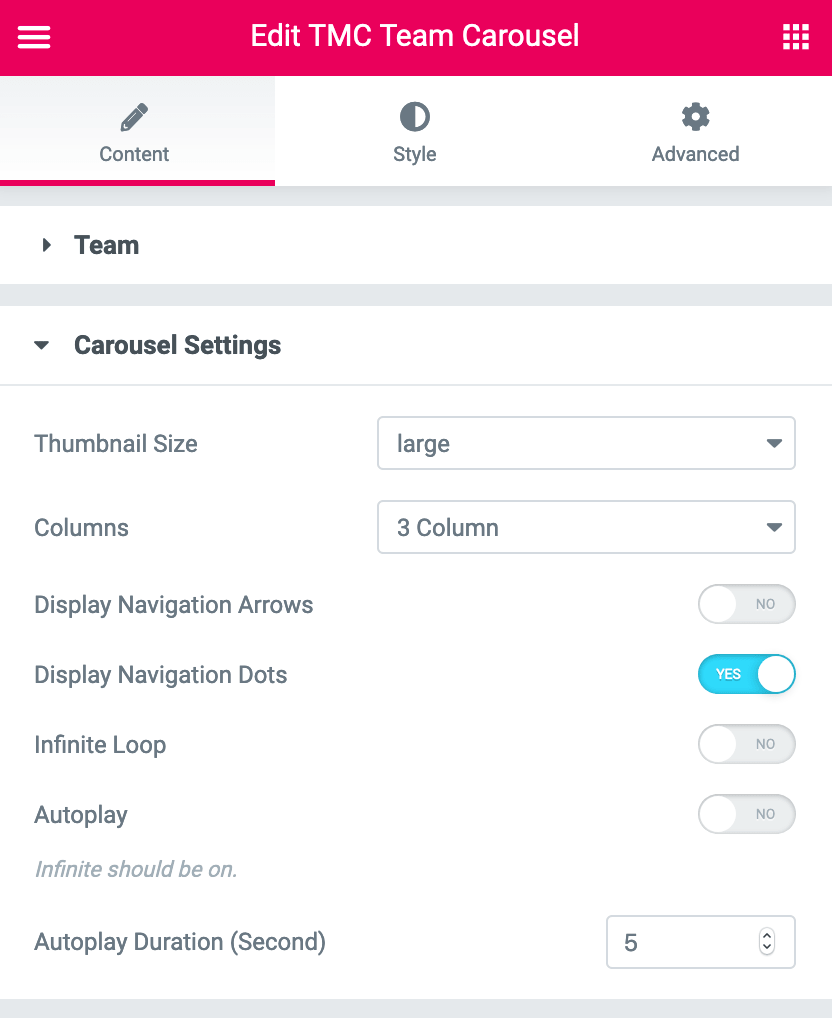
Grid / Carousel Settings: This section contains masonry layout or carousel settings.
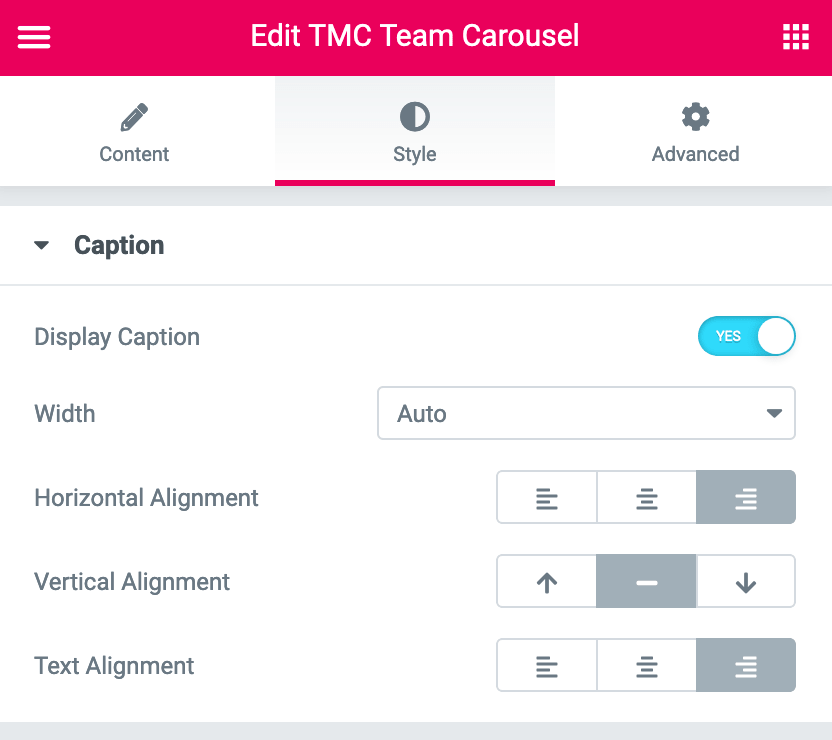
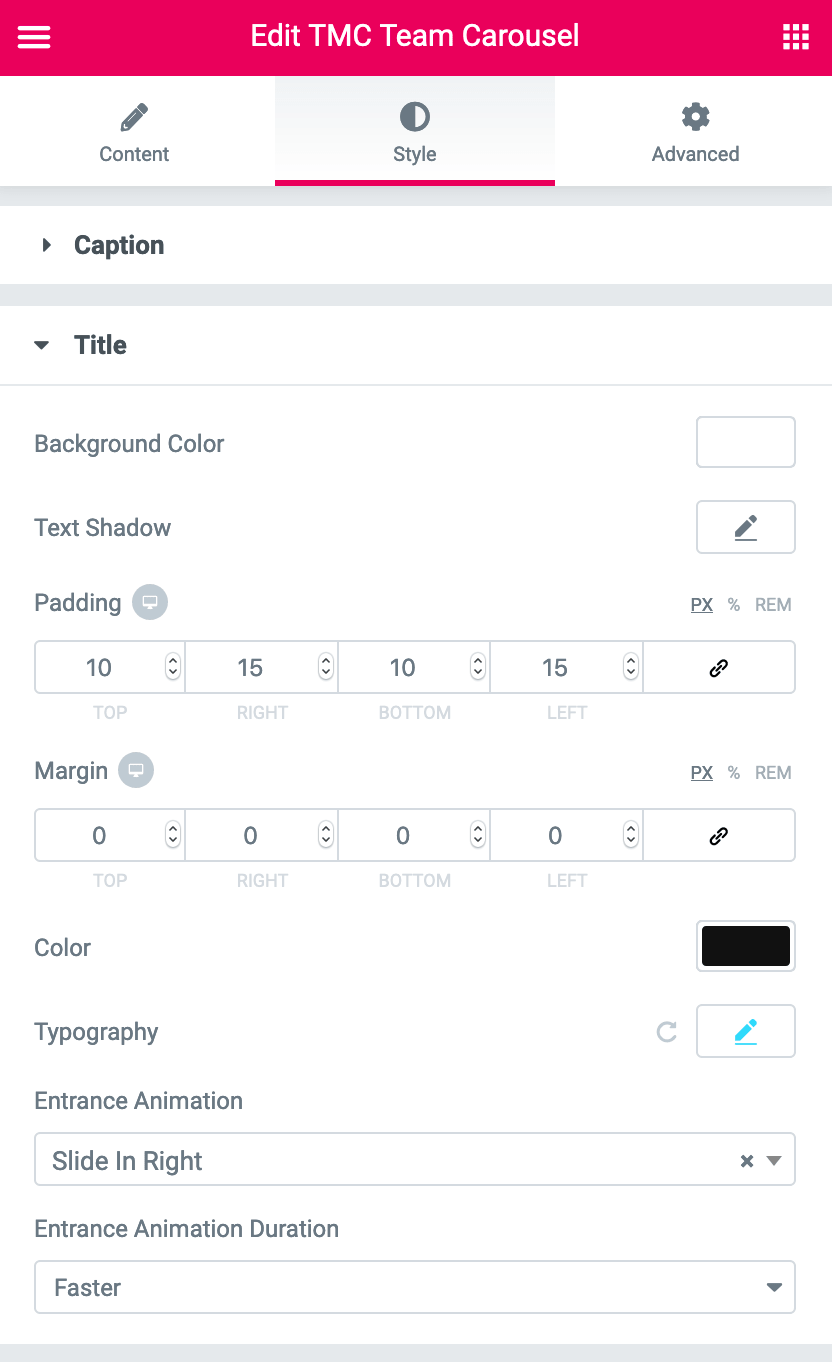
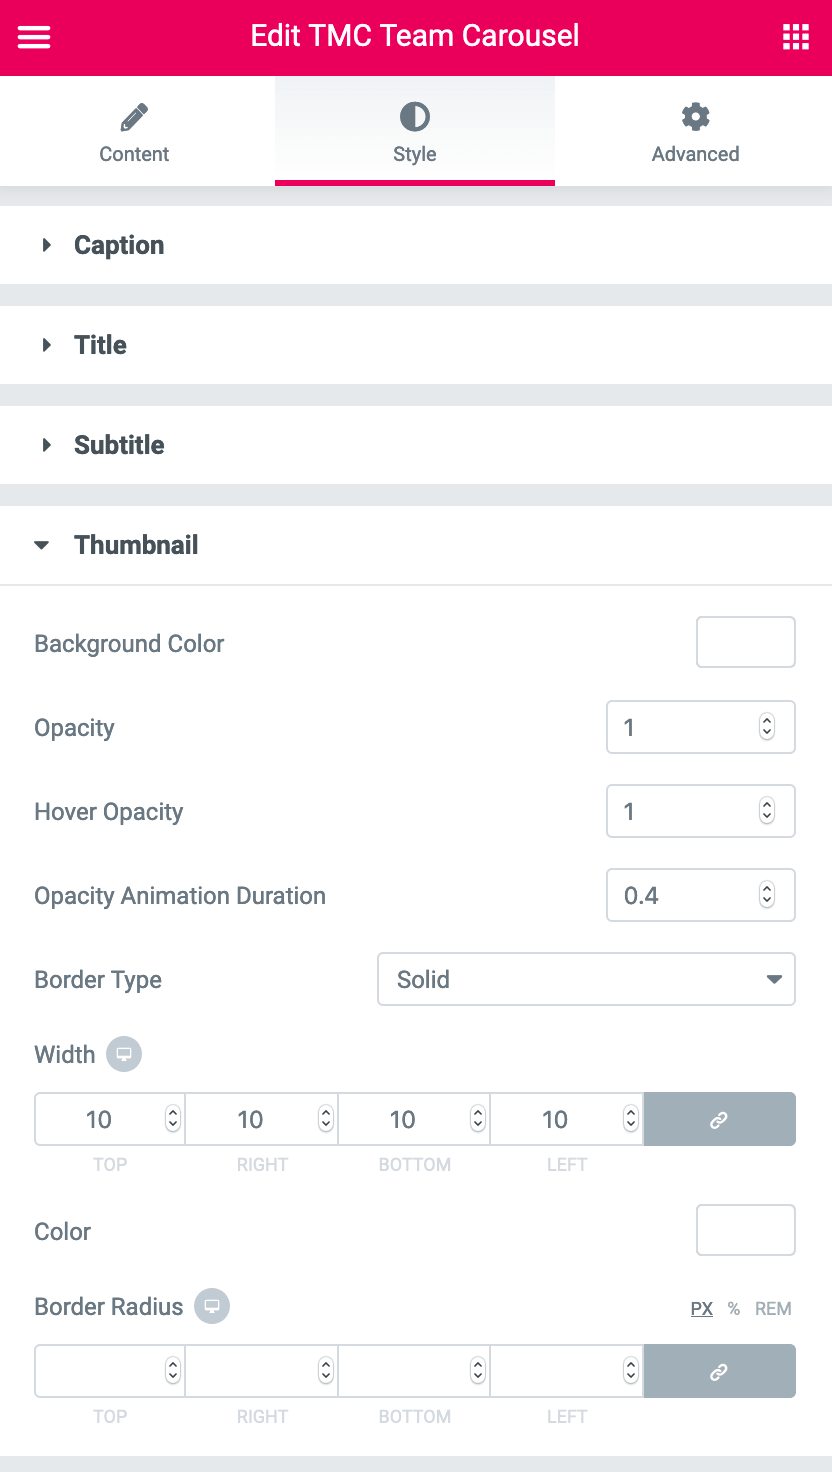
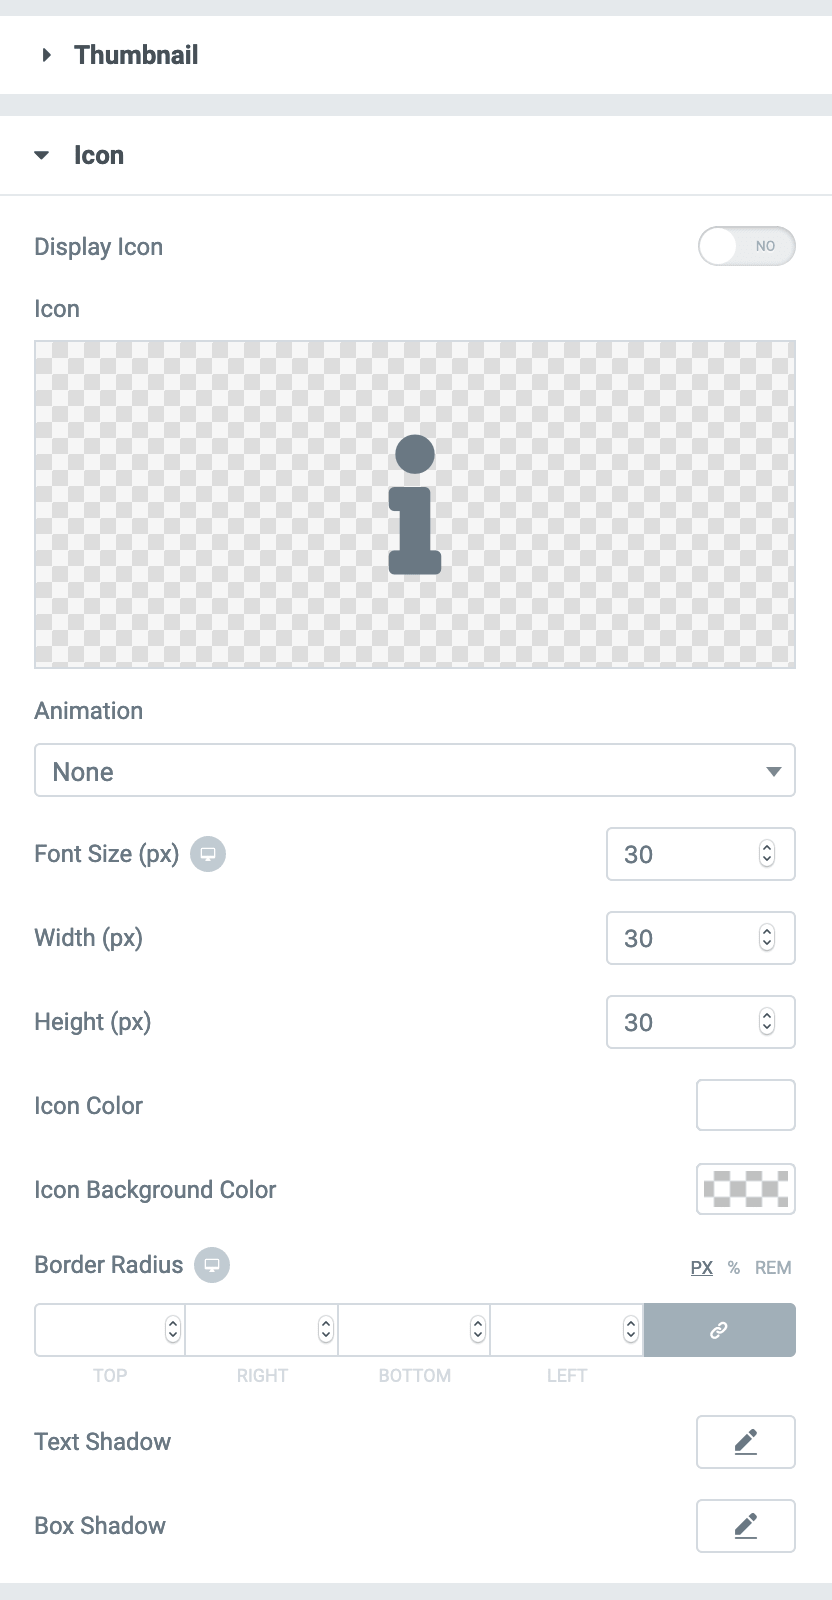
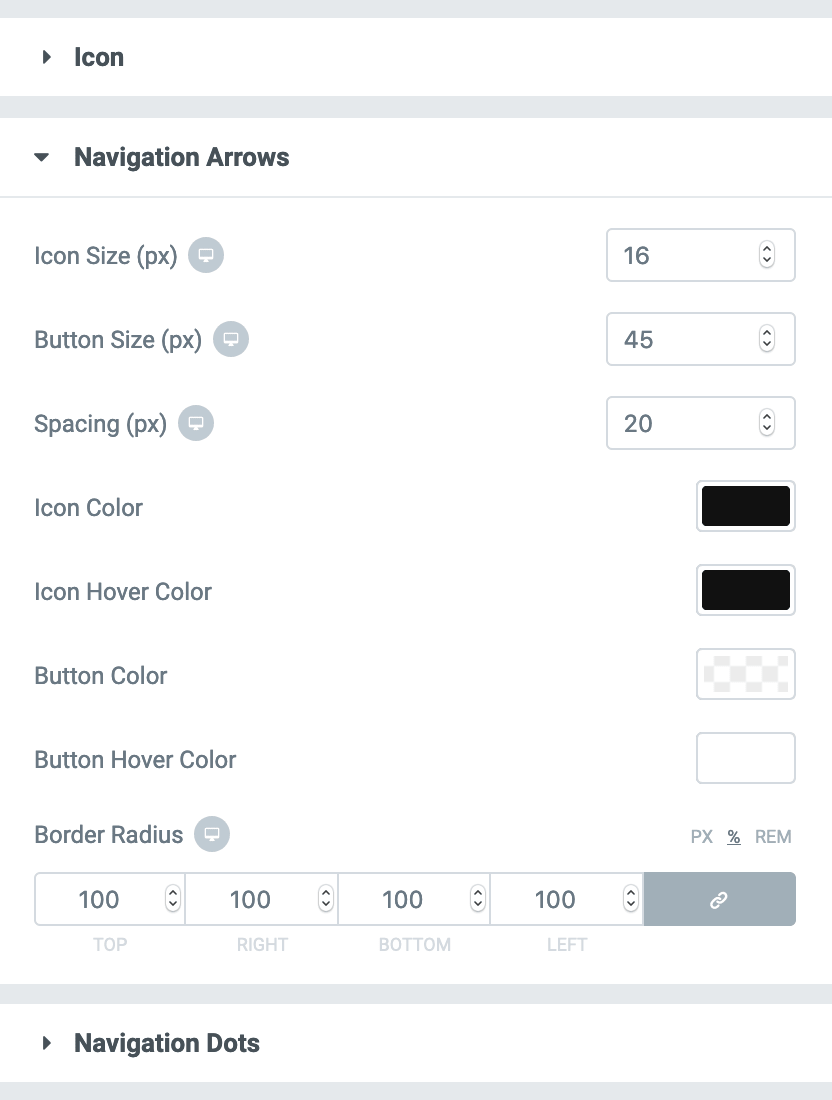
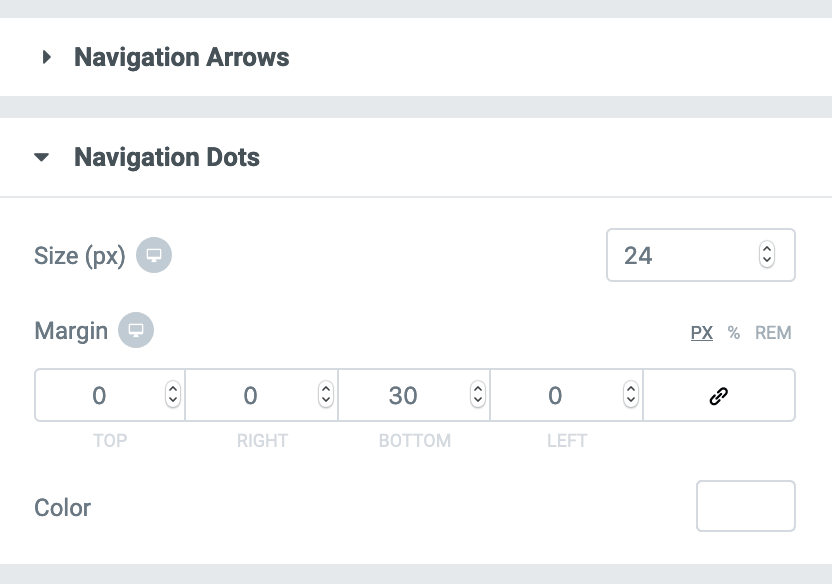
Style
This tab contains all customization settings such as margins, padding, typography, colors etc.
Advanced
This tab contains some additional Elementor settings. Usually, you don't need to play with these settings.
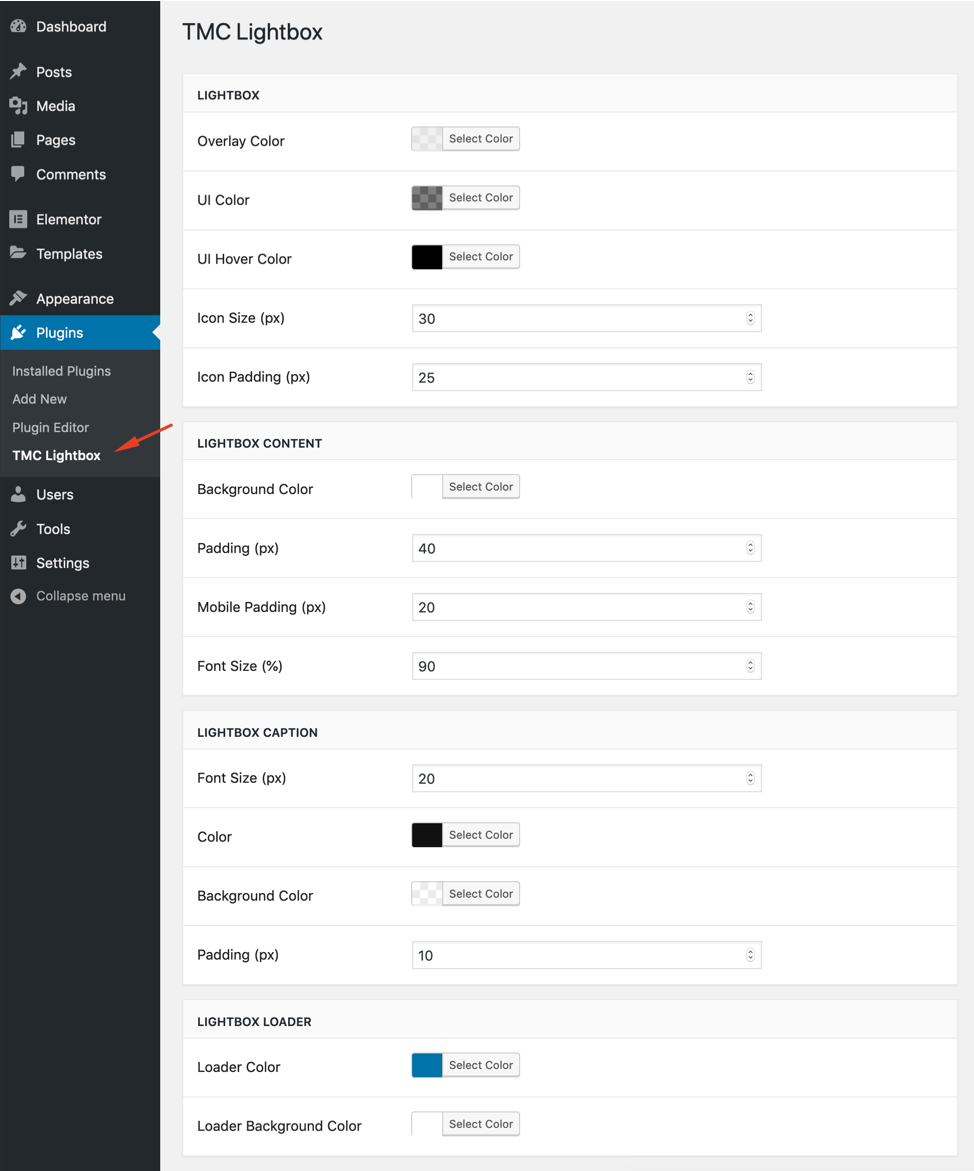
Lightbox Settings
You can change lightbox settings from Plugins -> TMC Lightbox.