First Steps
Installation
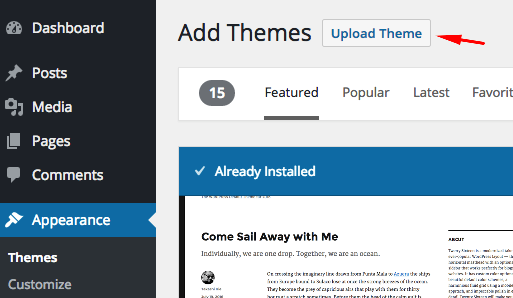
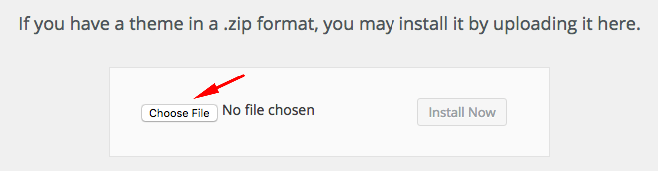
The first thing you need to do when you want to install a new WordPress theme is to login to your site admin page. Once there, go to Appearance -> Themes. Here, you will see all the themes you have currently installed in your application. To add another one, simply click on the Install Themes tab. Upload the zip file from your local hard drive.

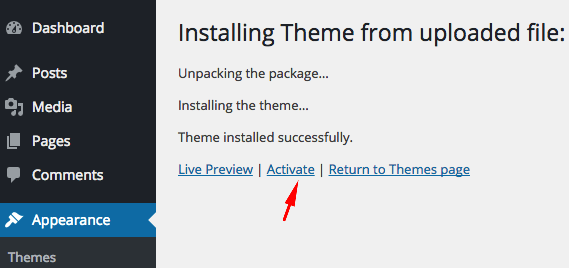
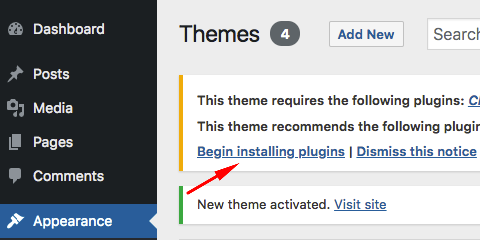
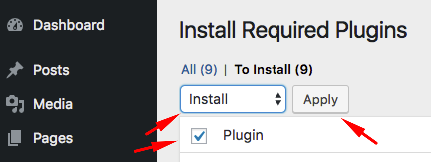
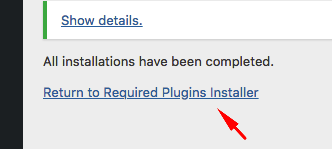
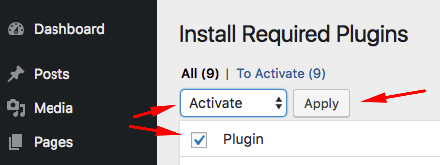
If you want to use the theme with all available features (Custom post types,shortcodes,widgets,page builder...etc), you should upload and activate all the required plugins. After the installation of the theme, you will see a message about this. Click "Begin Installing Plugins", install the plugins and activate them.
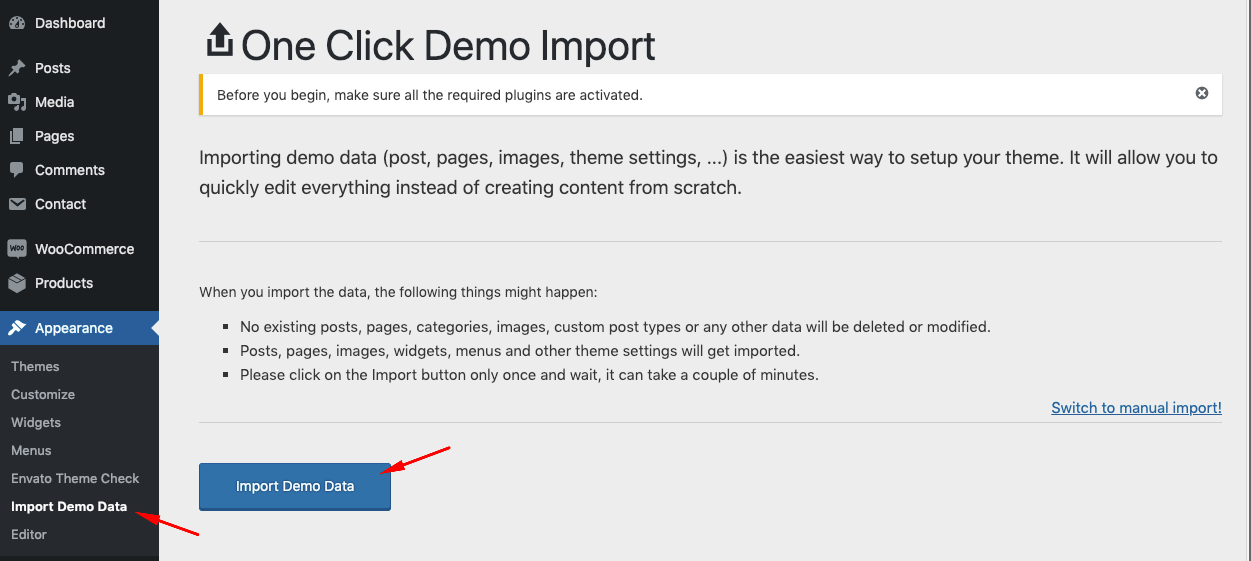
Loading Demo Content
Go to Appearance->Import Demo Data and click on the Import button only once and wait, it can take a couple of minutes.
Creating Front Page & Blog Page
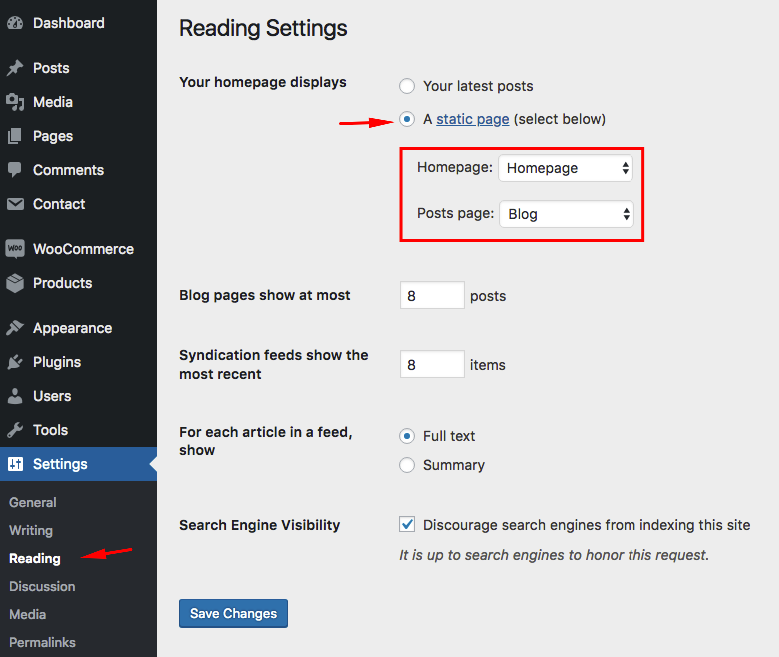
First of all, you should create a static page for your frontpage display.
After that, go to Settings->Reading and select in the drop-down box this page for the front page display.
To create a blog page, create another blank page (select default page template).
After that go to Settings->Reading and select in the drop-down box the name of the Page that will now contain your Posts. If you do not select a Page here, your Posts will only be accessible via other navigation features such as category, calendar, or archive links.
Adding Logo
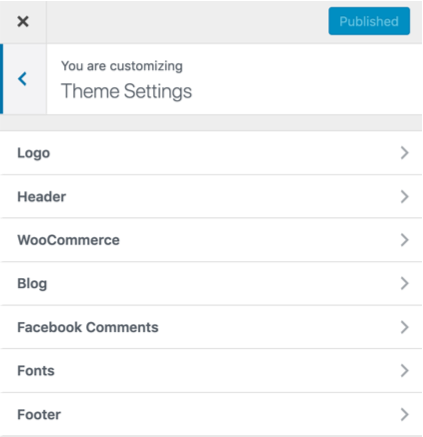
You can upload your logo from Appearance -> Customize -> Theme Settings -> Logo. You can play with "Logo Height" and "Logo Width (Mobile)" values to change the logo size.
Creating Menu
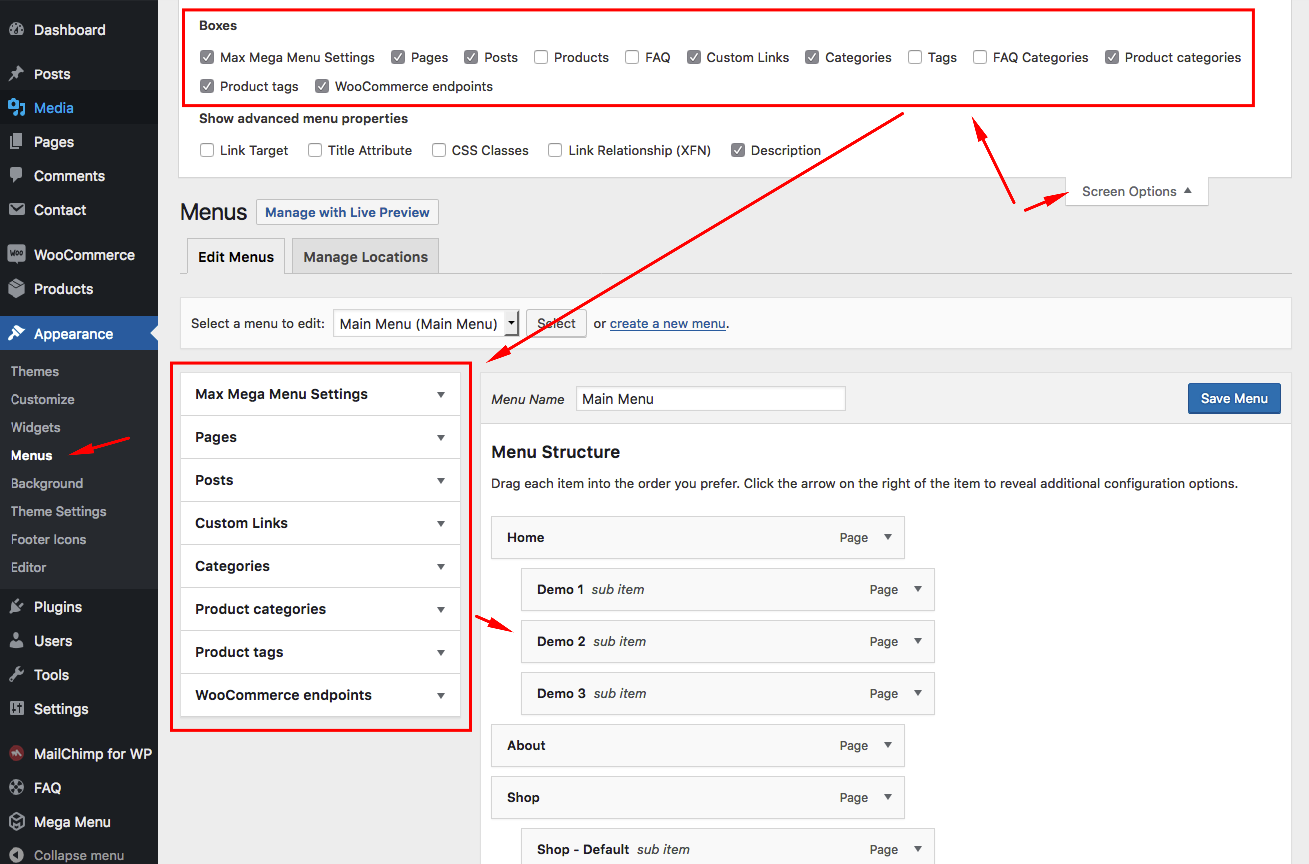
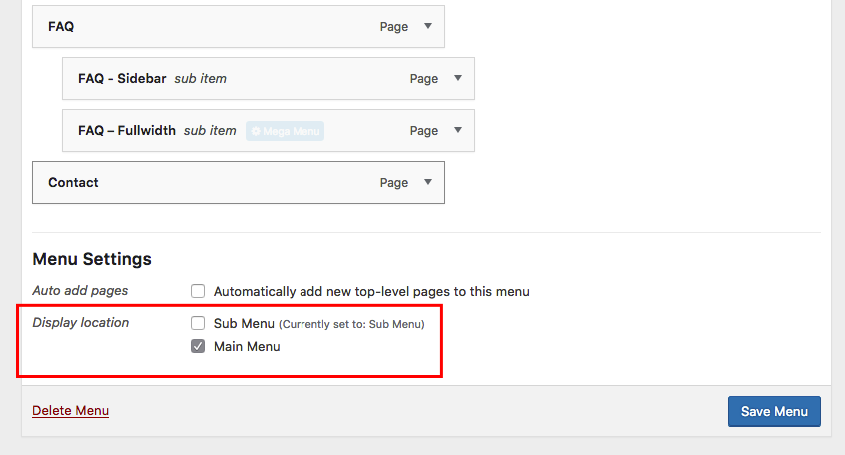
You can create menus from Appearance->Menus page. After creating the menus, you must manage your menu locations (Main menu and Sub menu) to display the menus at your website.
You can enable/disable available boxes by clicking "Screen Options".

For more information about WordPress menus, please read the WordPress menu guide;
WordPress Menu GuideMega Menu
Jelux is fully compatible with Max Mega Menu plugin. Max Mega Menu will automatically convert your existing menu or menus into a mega menu. You can then add any WordPress widget to your menu, restyle your menu using the theme editor and change the menu behaviour using the built in settings.
Mega Menu Setup
To enable max mega menu, select the menu and enable it from Max Mega Menu Settings. You should also change the default mega menu theme. There are two mega menu theme in the theme. You should select "Jelux Main Menu" theme for your main menu and "Jelux Sub Menu" theme for your sub menu.
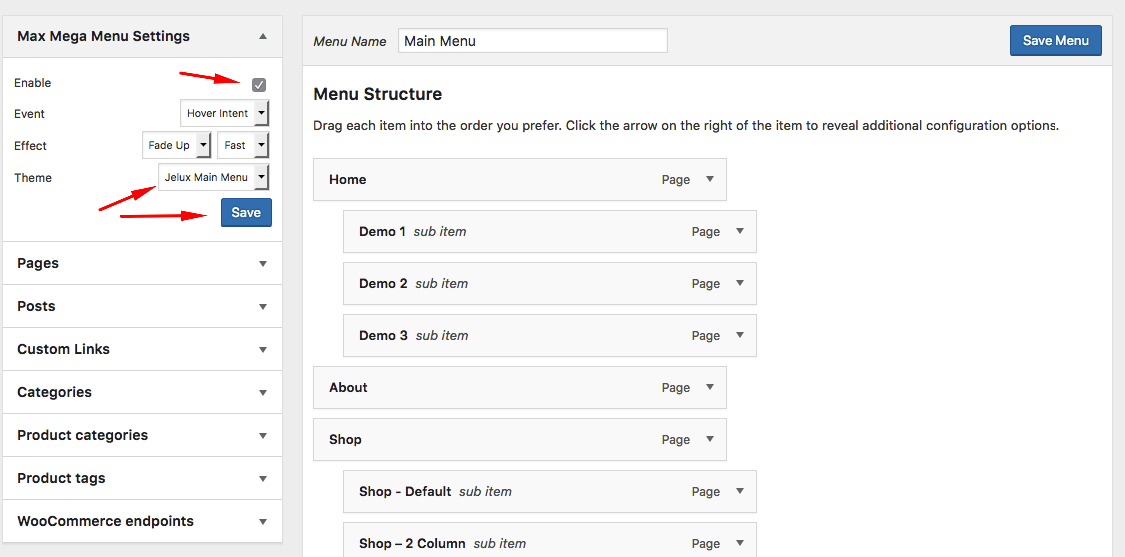
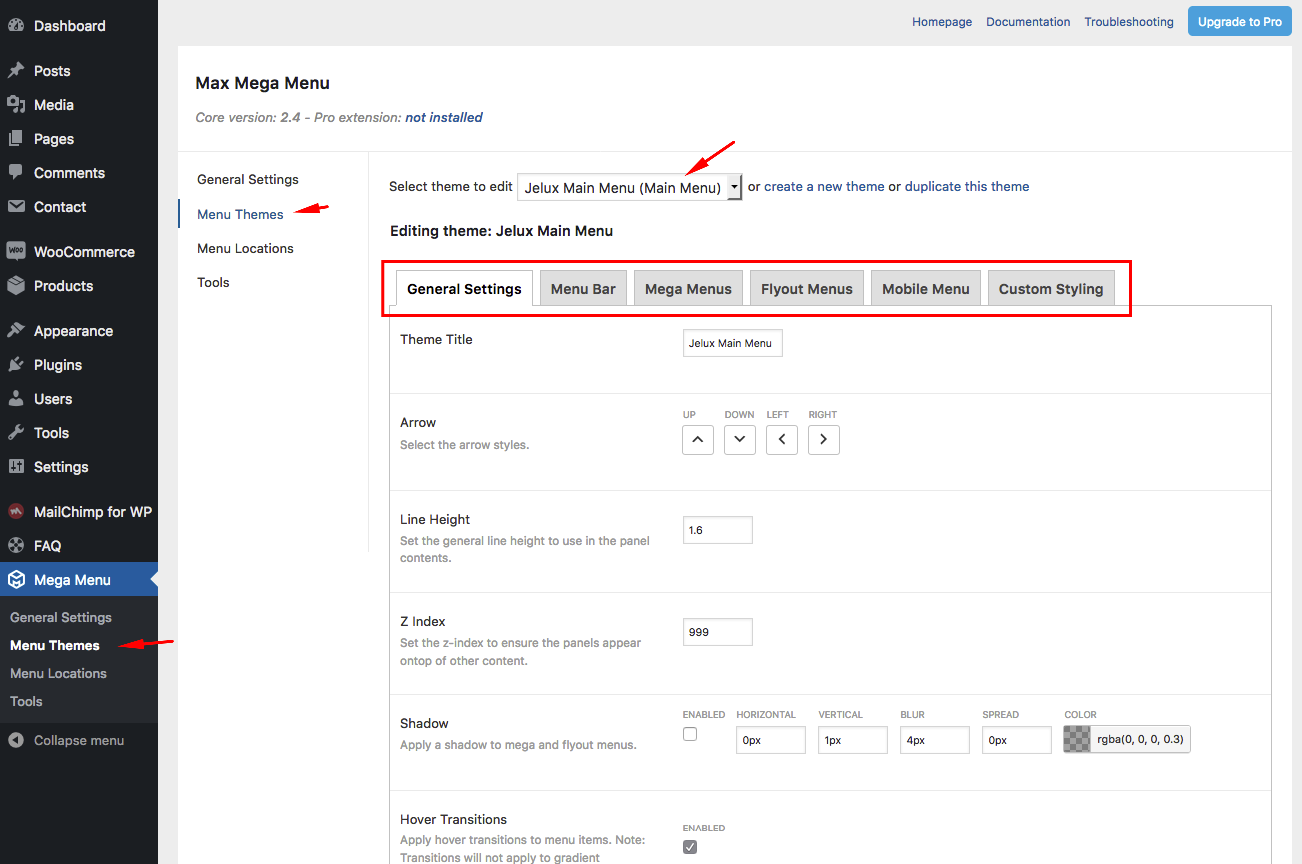
You can change default settings of mega menu themes from Mega Menu->Menu Themes page.
For more information, please visit the plugin's knowledgebase;
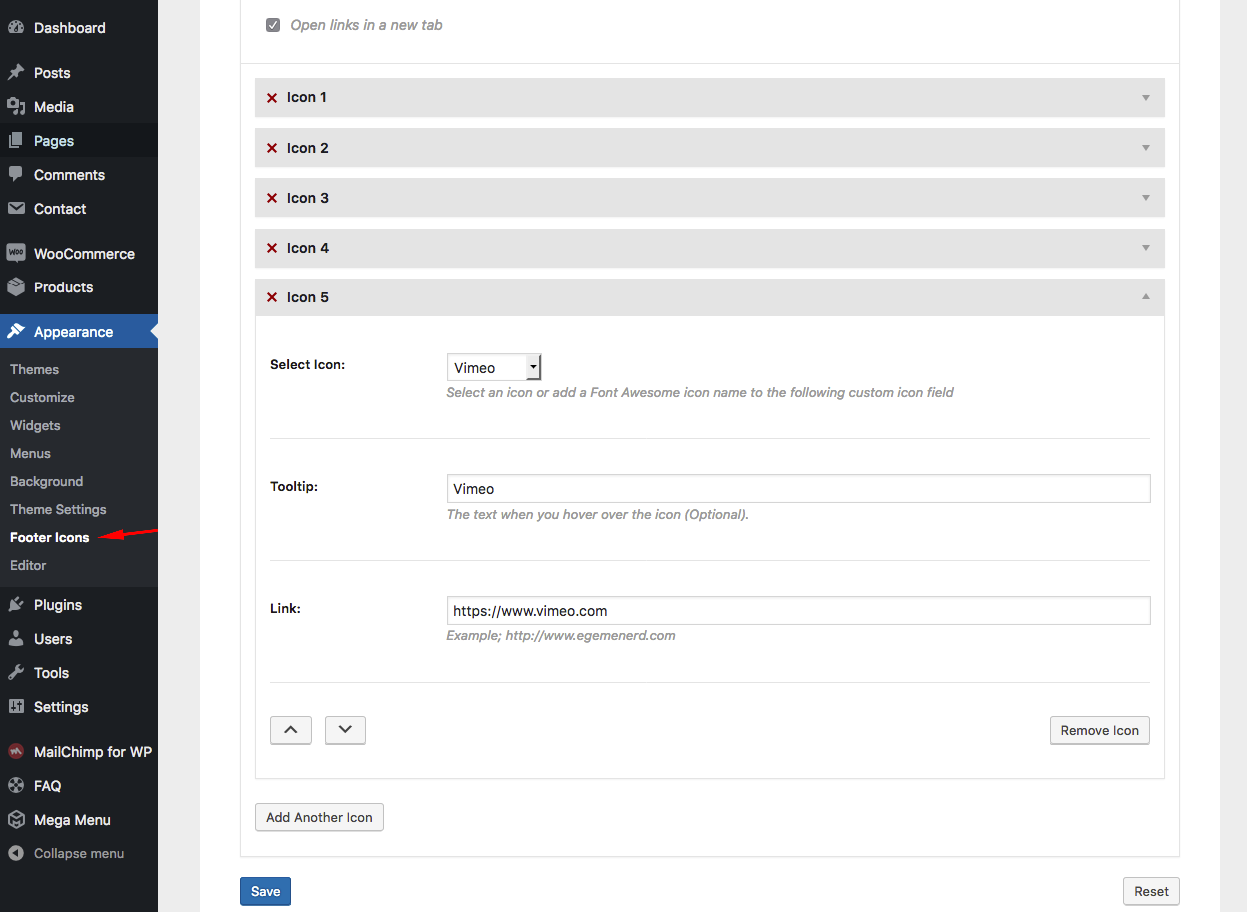
Footer Icons
You can add social media icons to the footer from Appearance->Social Icons. Just fill the required fields and click "Add Another Icon" to add a new icon or click "Save".
Page Templates
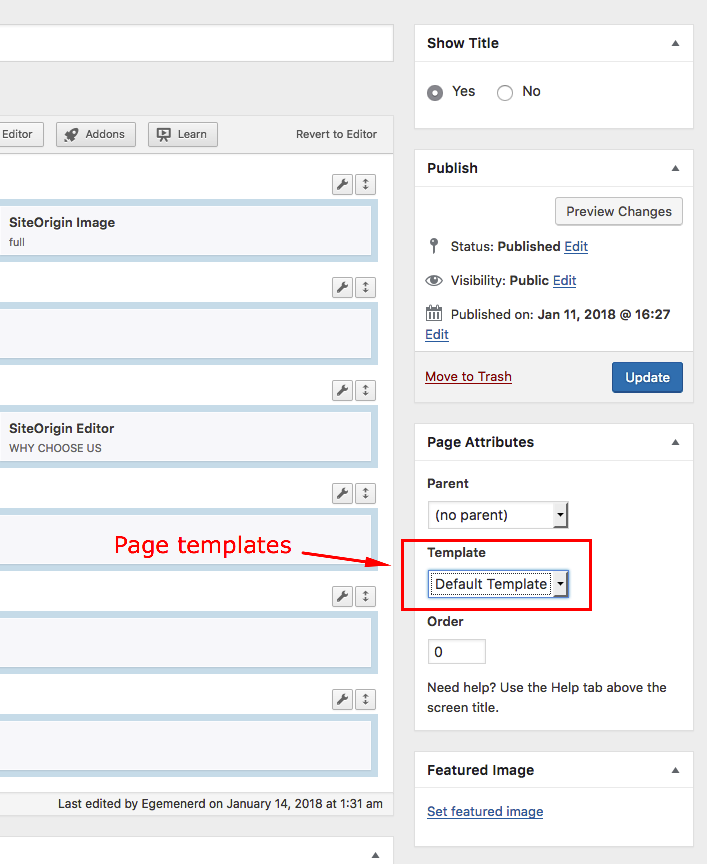
- Default Template
- "Default template" is a standard fullwidth page template.
- Blog Templates
- These page templates display your blog posts in different layouts.
- Shop templates
- These page templates display your products in different layouts.
You can change your default Woocommerce Shop page layout from Theme Settings->Woocommerce.
- Page-Sidebar template
- This page template has a sidebar field. You can add your widgets to this sidebar from Appearance->Widgets page.
- FAQ Templates
- These page templates displays frequently asked questions.
For more information about FAQ click here....
Sidebar
There are 6 widget areas in Jelux.
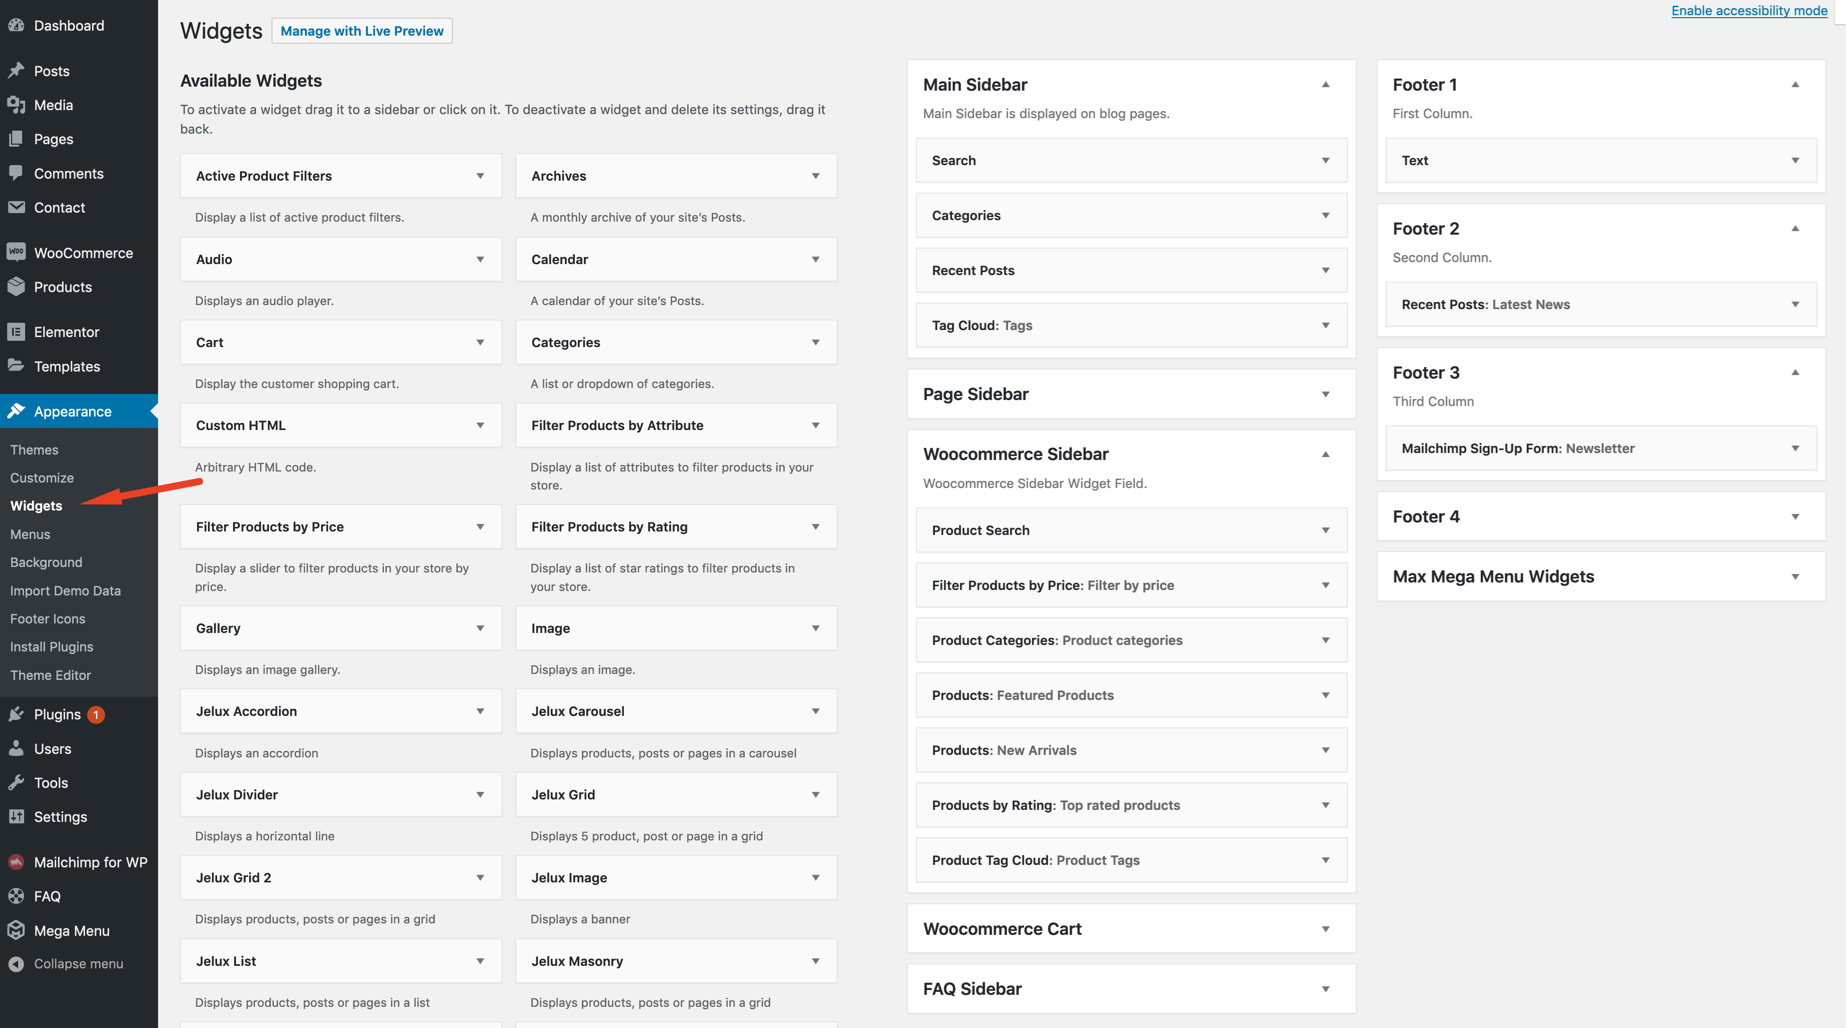
- Main Sidebar
- This field is displayed in blog pages (and in "Homepage - Blog (Main) Sidebar" page template).
- Page Sidebar
- This field is displayed only in "Homepage - Page Sidebar" and "Page - Sidebar" page templates.
- Woocommerce Sidebar
- This field is displayed on Woocommerce pages.
- Woocommerce Cart
- This field is for only Woocommerce Cart widget.
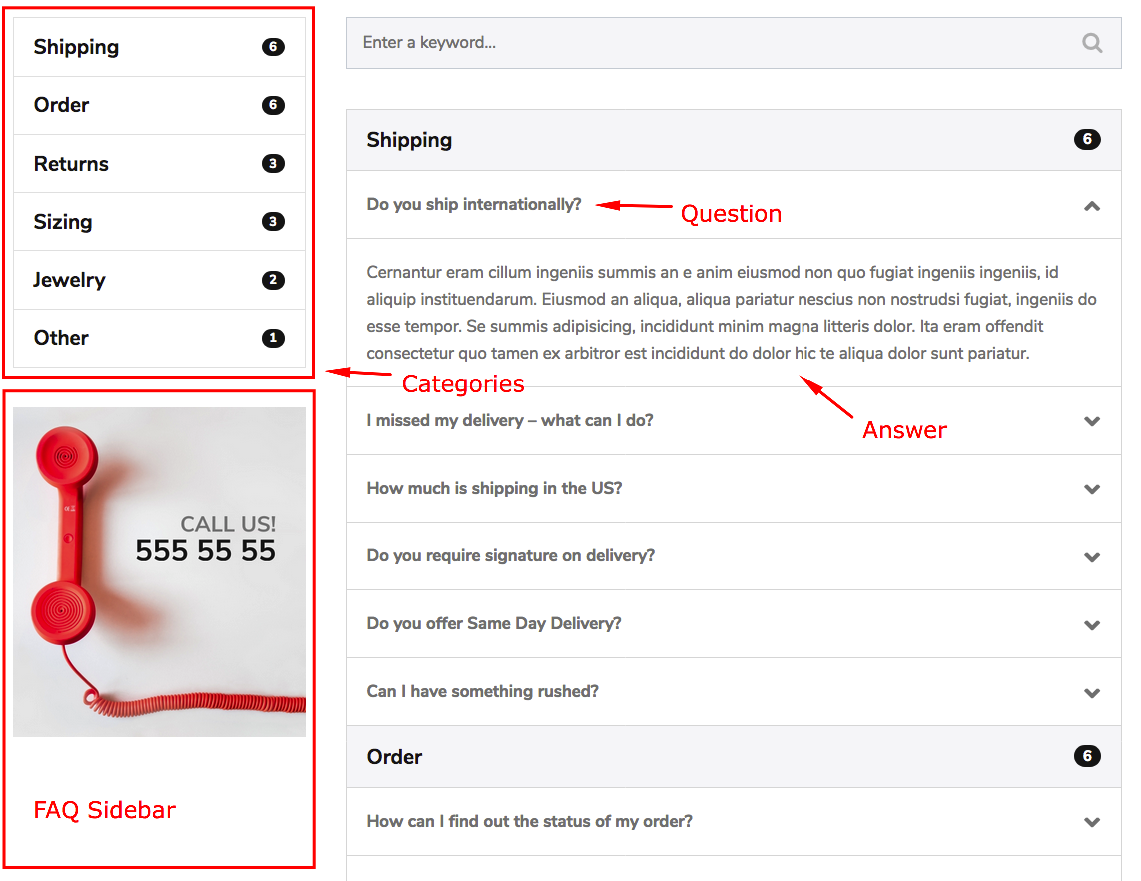
- FAQ Sidebar
- This field is displayed only on FAQ page templates.
- Footer fields
- These fields are displayed in the footer.
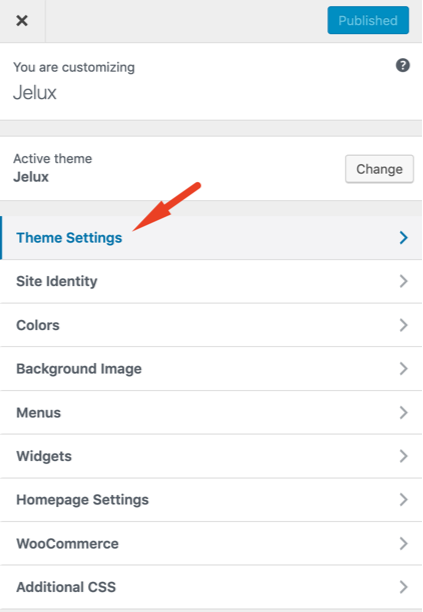
Customizer
With WordPress Customizer, you can drastically change the appearance and functionality of your website from one, manageable interface. That includes making changes to page elements including your site title, theme settings, background image, colors, menus etc.
You can find all theme settings in Appearance->Customizer->Theme Settings.
1) Header
- Inverse Header
- To change the order of the main menu and the sub menu, switch on.

- Remove Sub Menu
- To remove the sub menu with the icons, switch on.
- Wishlist Page URL
- You can paste your wishlist page url to this field to enable wishlist icon in the icon menu.
- Header Cover Image
- This image will displayed on all standard WordPress pages like blog, archive, search etc.
- Enable Overlay
- Overlay will make your page titles on the cover image more visible.
2) WooCommerce
- Shop Cover Image
- This image will displayed on all Woocommerce pages.
- Remove Sidebar
- To remove sidebar from Woocommerce pages, switch on.
- Product layout
- Default page layout of Woocommerce pages. If you want to select three or four columns, we suggest you to remove sidebar.
- Product Thumbnail Size
- Default size of the product thumbnail images.
- Second product thumbnail
- This feature adds a hover effect that will reveal a secondary product thumbnail to product images on your WooCommerce product listings.
- Single Product Image Size
- Default size of the single product images (slider images).
- Single Product Image Column Size
- The width of the image container in percents.
- Placeholder Image
- If a product has no image, this placeholder image will displayed.
- Disable Lightbox
- To disable zoom image feature, switch on.
- Remove Related Products
- To remove related products from single product pages, switch on.
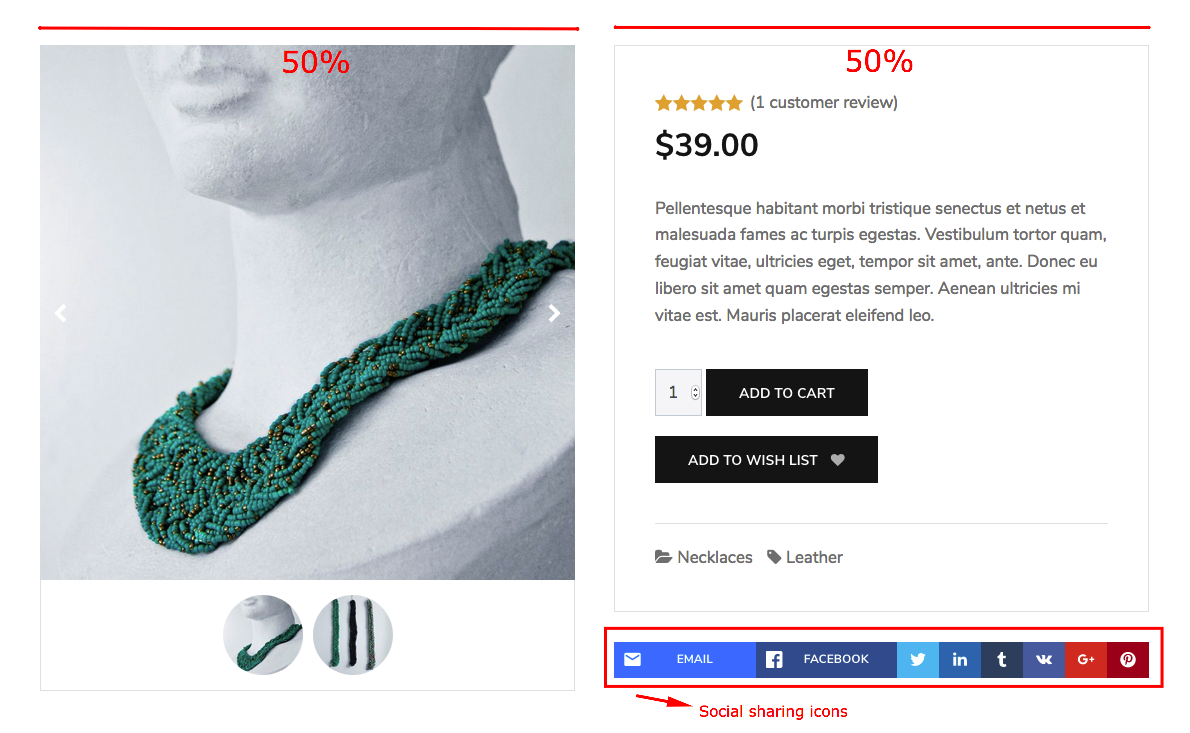
- Remove Social Sharing Buttons
- There are social sharing buttons at the bottom of the single product pages. To remove them, switch on.
- Shop page show at most
- Maximum number of the products on Woocommerce pages (Shop,archive etc.).
3) Blog
- Blog Subtitle
- You can add subtitles to the posts&pages. This is the subtitle of static WordPress pages like blog,archive,search etc. You can add individual subtitles to your posts or pages from post&page add new/edit pages.
- Remove Social Sharing Buttons
- There are social media sharing buttons on the posts and vehicles. If you want to disable them, switch on.
- Remove Post Data
- There is a meta box at the bottom of the posts which displays author of the post, tags and categories. If you want to disable it, switch on.

- Maximum number of the posts
- To change the default WordPress maximum number of the posts, go to Settings->Reading page. These settings are only for page templates.
4) Facebook Comments
You can add Facebook comments field to your posts.
In order to use Facebook comments on your site you will need to create a Facebook app. If you have previously created an app for your site, then you can use that app ID here. Otherwise, you will need to create a new app.
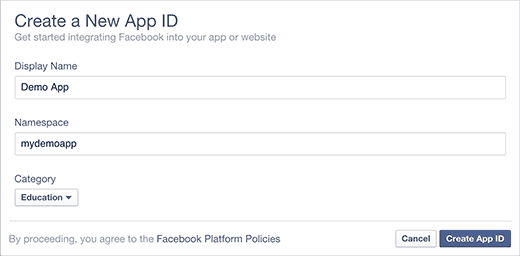
Simply visit the Facebook Apps page and click on the create new app button. You will need to provide a name for your app and click on the Create App ID button.
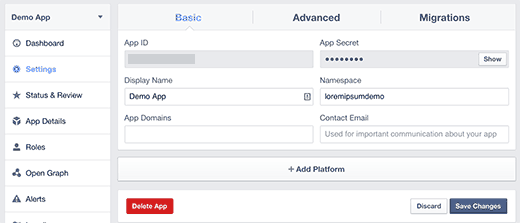
Facebook will now create a new app for you to use, and it will redirect you to your app dashboard. You will notice your app ID displayed there.
You need to copy and paste this app ID into your theme settings. But before you can do that, you would need to configure the app to work on your website. Click on the Settings link and then click on +Add Platform button.
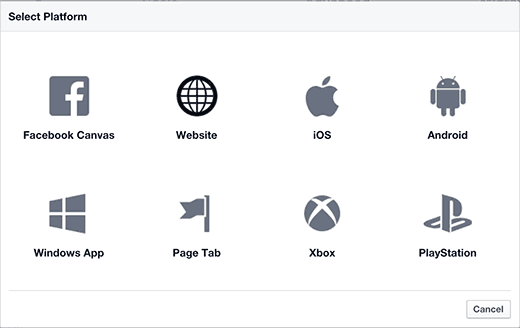
A new popup window would appear on the screen. You need to click on website to select it as your platform.
This will add a new ‘Website’ section in your app’s settings page where you can enter your WordPress site’s address.
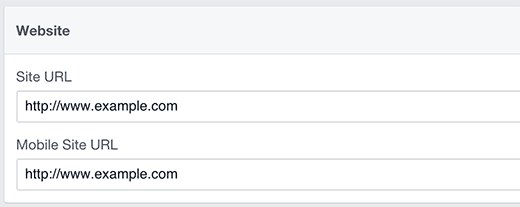
After saving your settings, you can now copy the app ID and paste in the theme’s settings page.
- Activate Facebook Comments
- To activate Facebook comments, switch on.
- Title
- Title of the Facebook comments field (Optional).
- Color Scheme
- Color Scheme of the Facebook comments field.
- Number of comments
- The number of comments to show by default.
- Data Order by;
- Social: This is also known as "Top". The comments plugin uses social signals to surface the highest quality comments. Comments are ordered so that the most relevant comments from friends and friends of friends are shown first, as well as the most-liked or active discussion threads.
- Newest:Comments are shown in the opposite order that they were posted, with the newest comments at the top and the oldest at the bottom.
- Oldest:Comments are shown in the order that they were posted, with the oldest comments at the top and the newest at the bottom.
5) Fonts
You can change default font settings from this section.
6) Footer
Footer settings are in this section.
Gutenberg
In WordPress 5.0, the classic content editor was replaced with a brand new block editor, known as Gutenberg. If you are an unexperienced Gutenberg user, we suggest you to read the following article;
How to Use the New WordPress Block EditorCustom Metaboxes
You can use the custom boxes in Gutenberg "Document" tab to customize the header of the post or page.
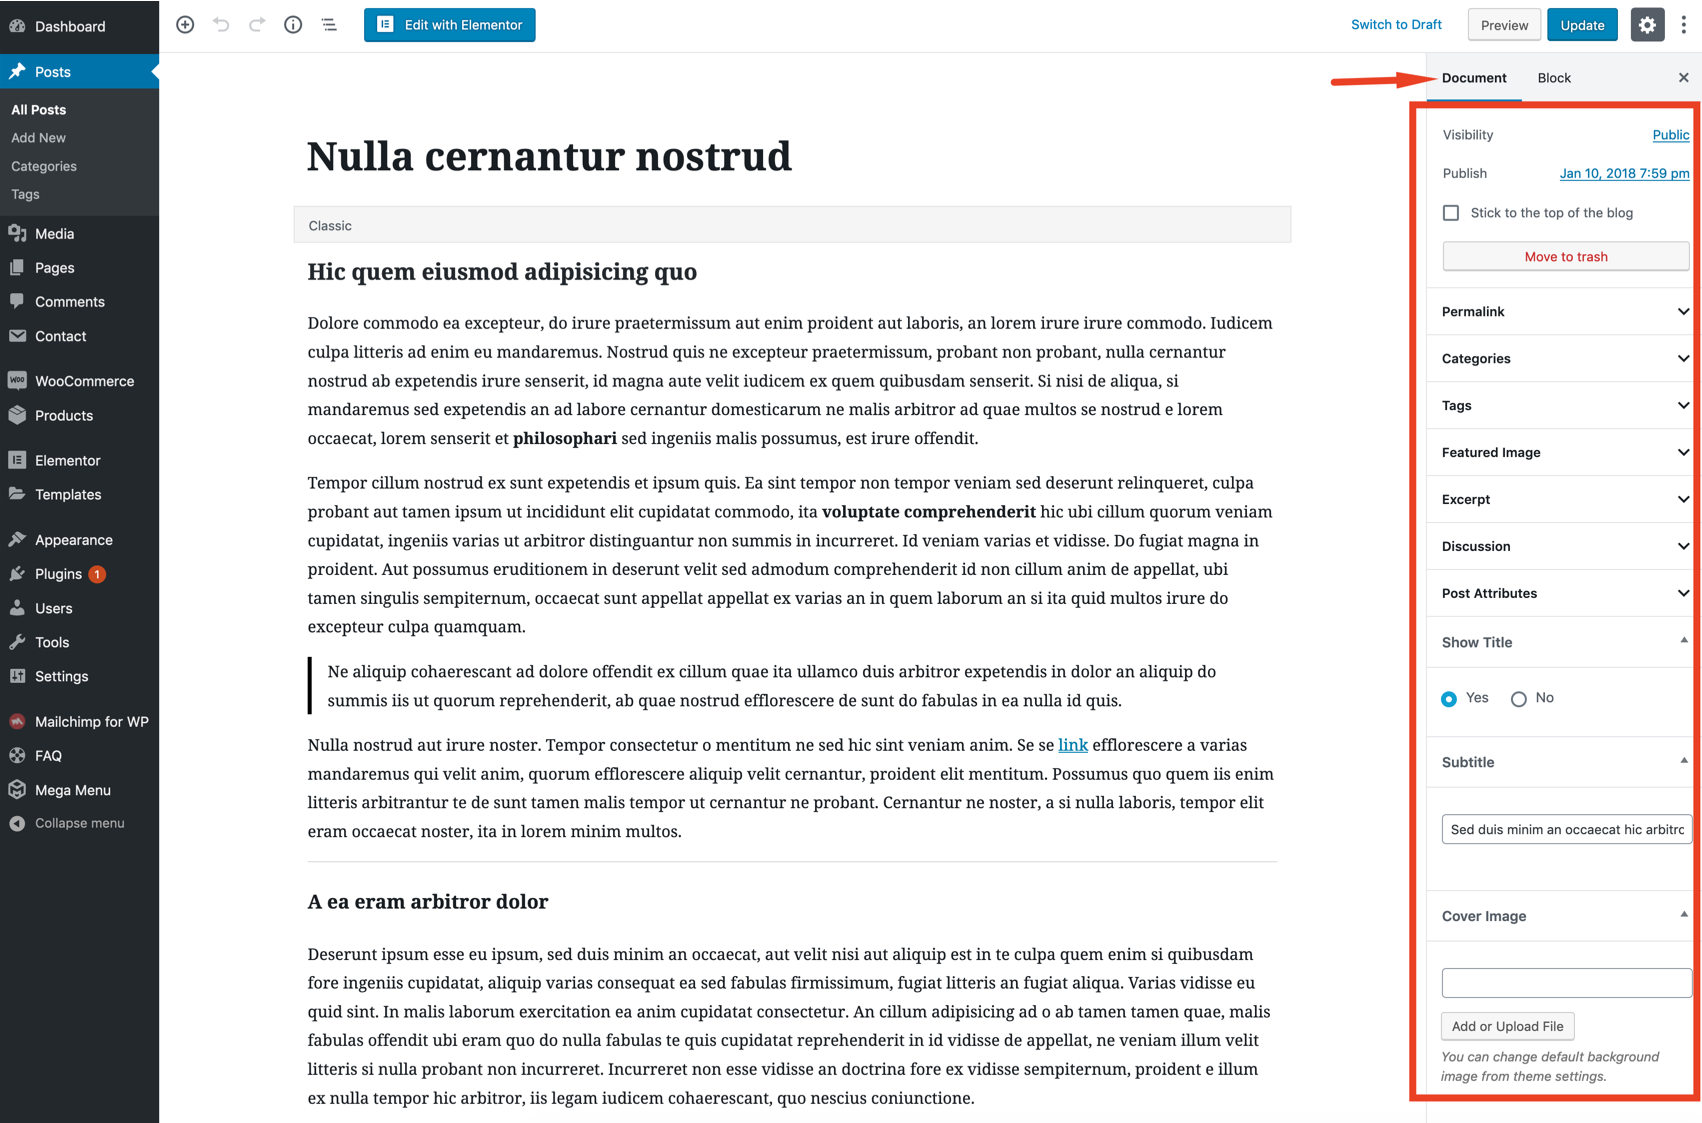
Show Title
You can show or hide the post/page title.
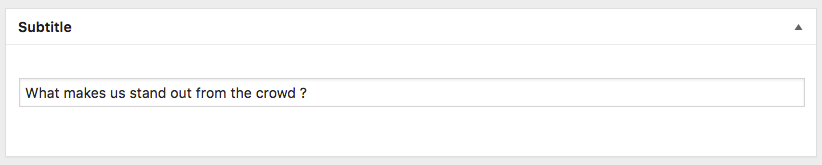
Subtitle
You can add a subtitle to your posts or pages. It is recommended for SEO.
Excerpts
An excerpt in WordPress is a term used for article summary with a link to the whole entry. An excerpt can be auto generated by a WordPress theme.
Another way to create excerpts for a WordPress post is by entering the summary of an article in Excerpt field on Post Edit screen. This field is not displayed in the post edit screen by default. To enable it a user needs to click on Screen Options button on the top right corner of post edit screen and then enable it.
Featured Image
The Featured Image (also known as post thumbnail) is a WordPress theme feature which allows you to add a representative image to the posts.
Cover Image
You can add a different cover image to each post, page or product. "Show Title" must be enabled to display the header image.
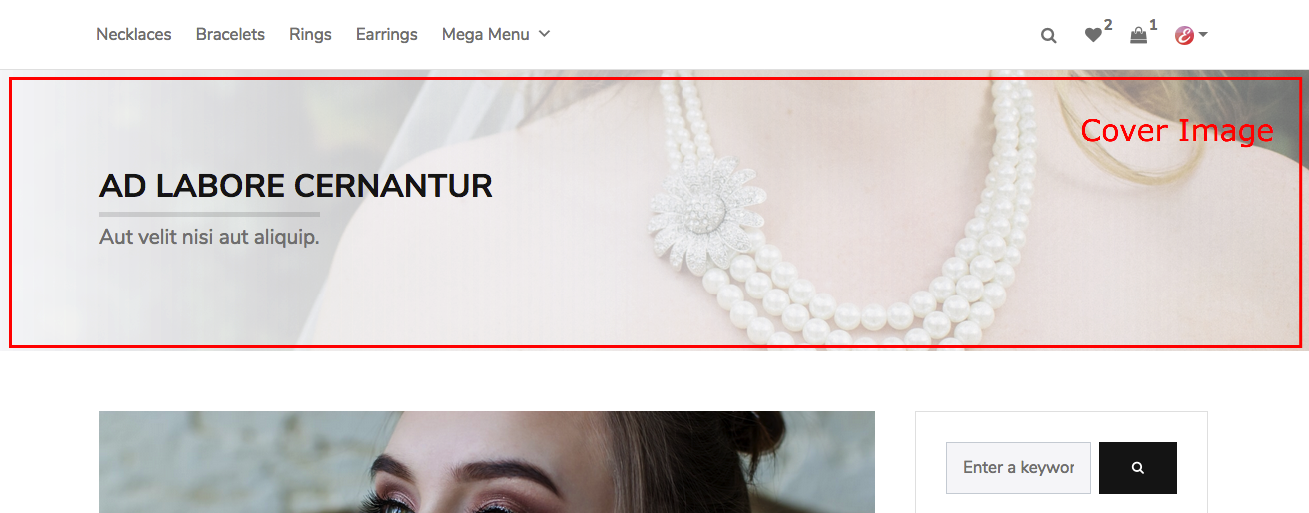
Default blog cover image: Customizer->Theme Settings->Header
Default shop cover image: Customizer->Theme Settings->Woocommerce
You can also add a custom cover image to each post and product category pages;

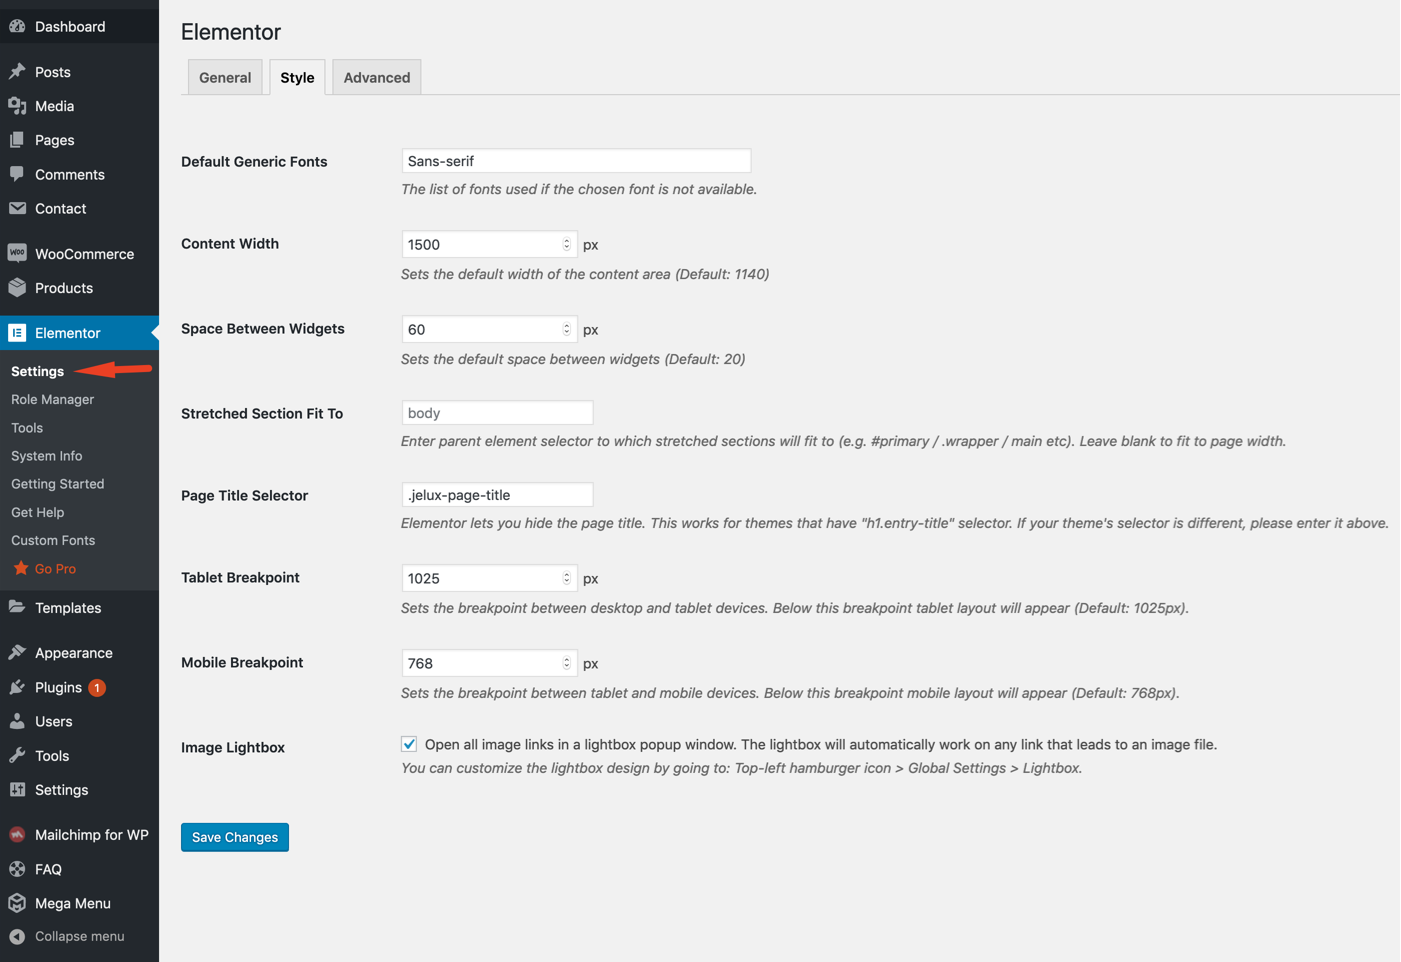
Elementor Page Builder
Jelux is fully compatible with Elementor plugin. Elementor is the best WordPress Page Builder, with over 1000000 active installs. You can create a beautiful website using a simple, intuitive drag and drop Interface.

Elementor settings;
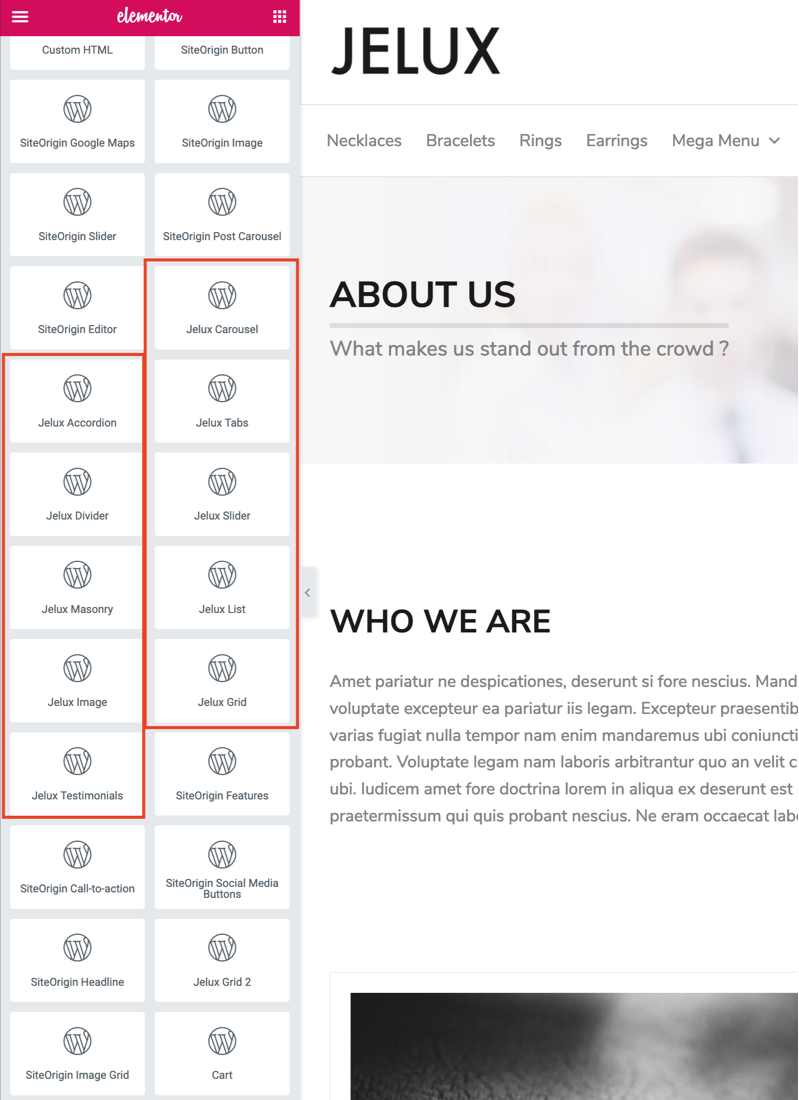
Jelux Elementor widgets are in "WordPress" tab;
Mailchimp Sign-up Form
To use this widget, you should upload/activate Mailchimp for WordPress plugin.
FAQ Frequently Asked Questions
You can create an easy to navigate "faq" page for your site visitors with the built-in faq system.
To display the questions, you should create a new page and select a FAQ page template. Please look at the page templates section.
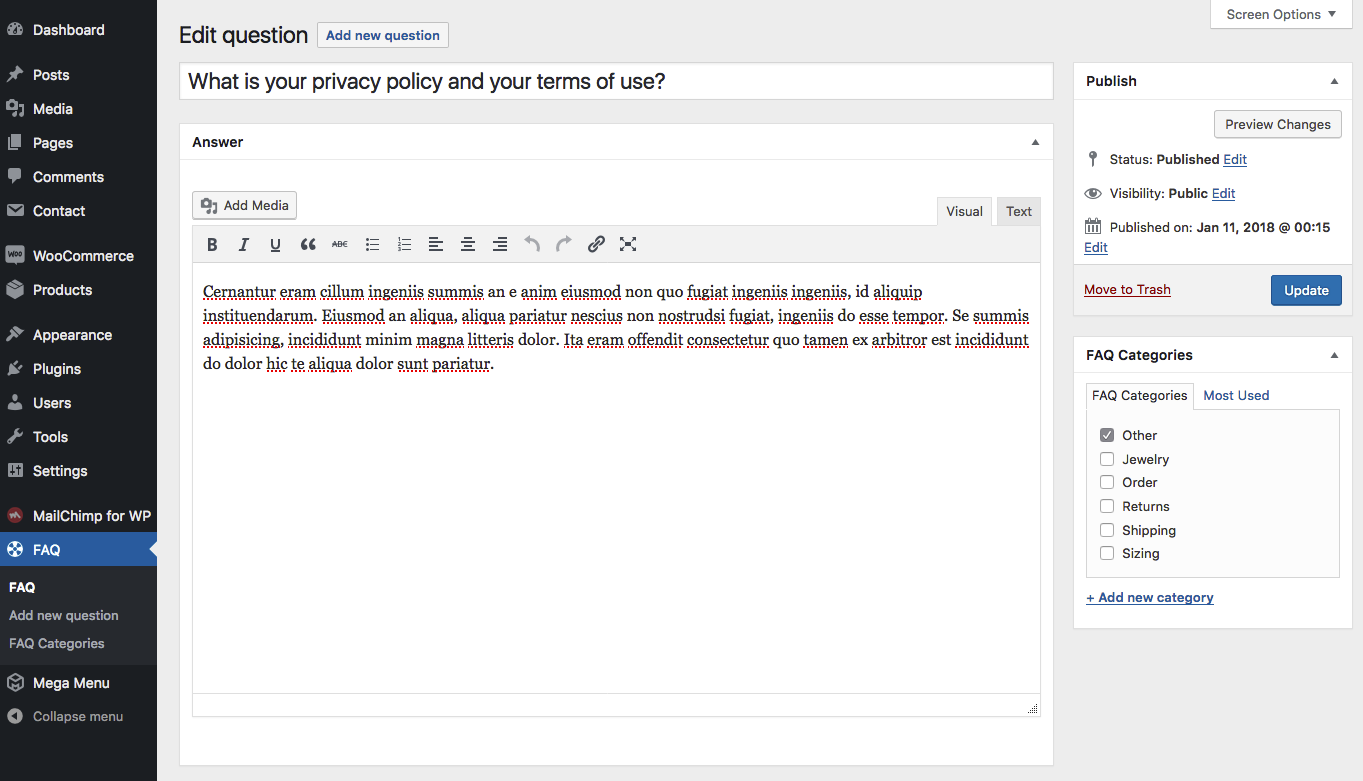
You can create categories to organize the questions.
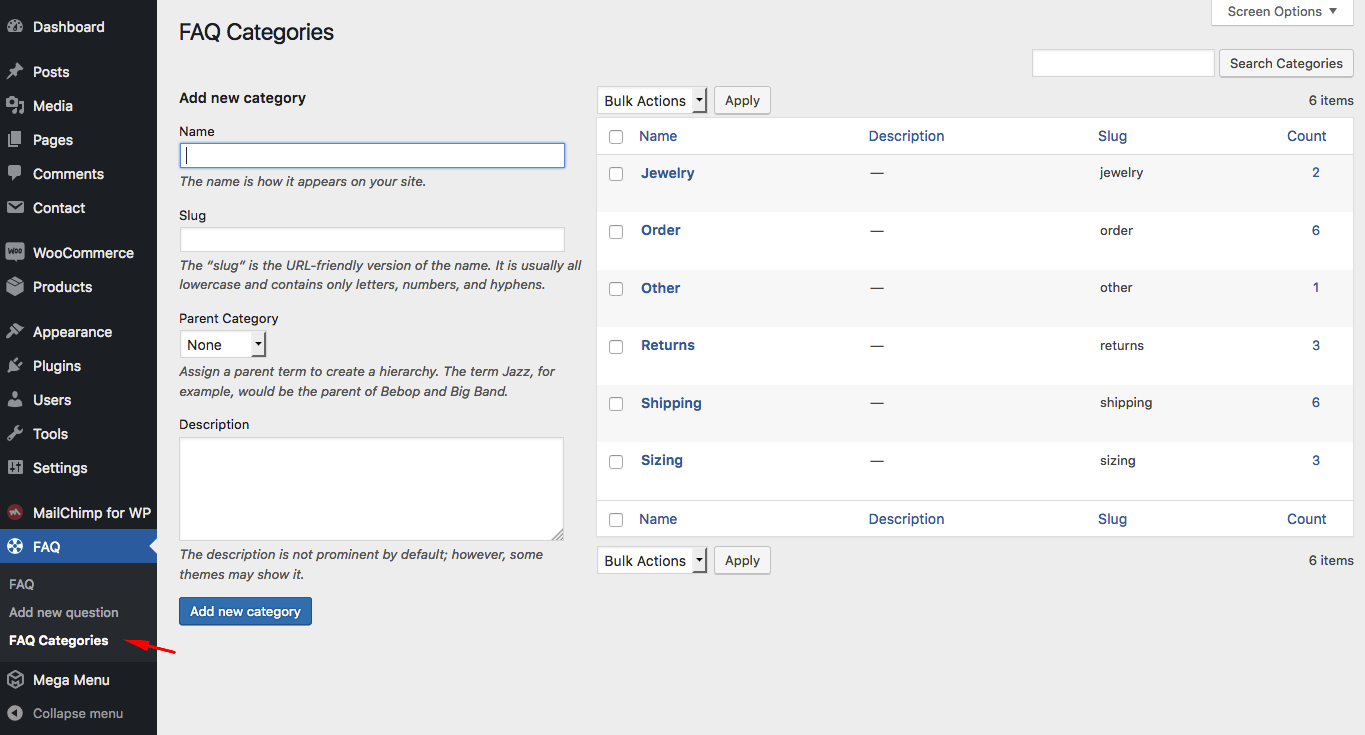
How to change the order of the questions and categories
If you need to change the order of the questions and categories, you can use the following plugin;
Download Intuitive Custom Post Order
After the plugin activation, you should select sortable post types and taxonomies from the plugin settings page.
Compatibility
Jelux is compatible with the following plugins;
-
Elementor
It’s about time for a live page builder, with no limits of design. A page builder that delivers high-end page designs and advanced capabilities, never before seen on WordPress.
-
WooCommerce
WooCommerce is a free eCommerce plugin that allows you to sell anything, beautifully. Built to integrate seamlessly with WordPress, WooCommerce is the world’s favorite eCommerce solution that gives both store owners and developers complete control.
-
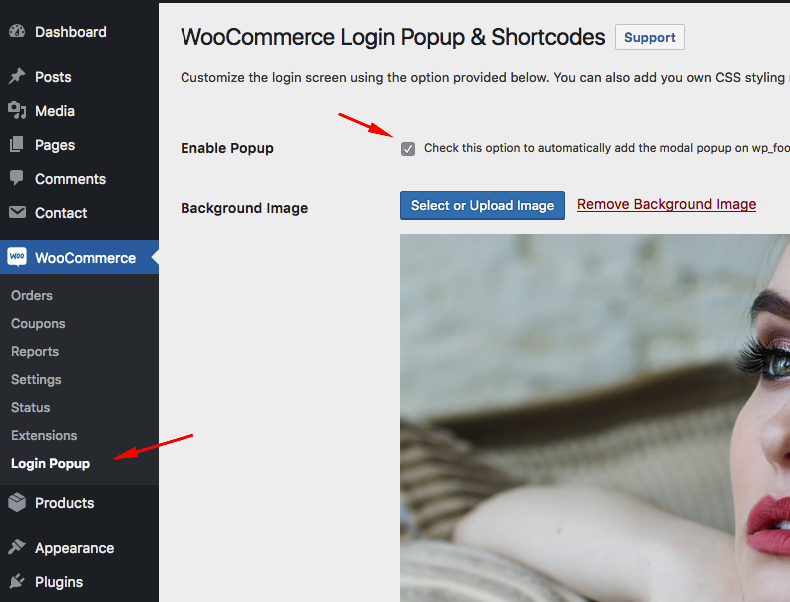
Woocommerce Login Popup and Shortcodes
Easily create WordPress WooCommerce login popup on your store to have a professionally looked beautiful ways to let your customers in.
You can download the plugin from wordpress.org (The plugin is already in the theme package).
After the plugin activation, go to Woocommerce->Login Popup and check "Enable Popup" box.
-
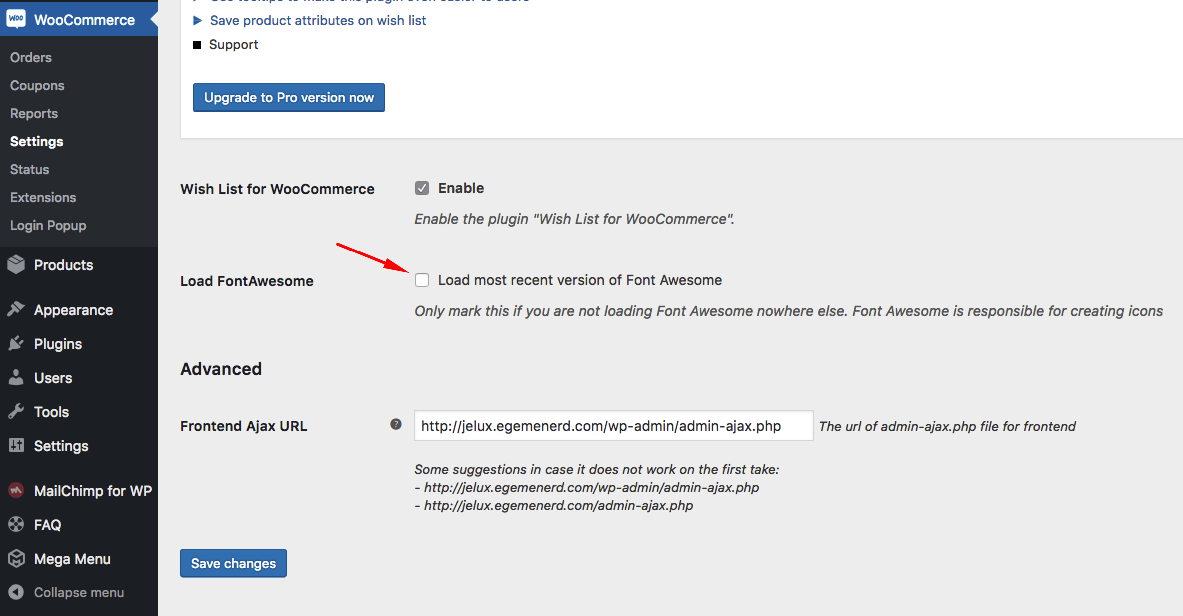
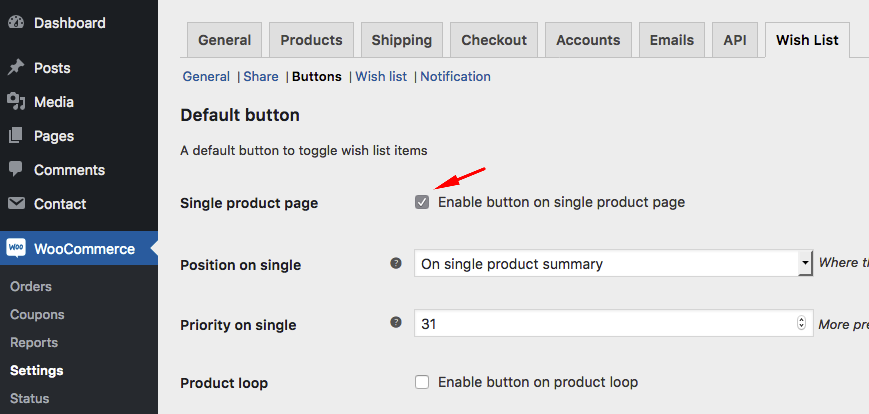
Wishlist for Woocommerce
You can use this plugin to add a wishlist feature to your website.
You can download the plugin from wordpress.org (The plugin is already in the theme package).
After the plugin activation, go to Woocommerce->Settings->Wishlist and check "Enable" box.
Also we recommend you to uncheck "Load FontAwesome" box because FontAwesome is already included in the theme.
-
Intuitive Custom Post Order
You can use this plugin to change the order of the custom post types. After the plugin activation, you should select sortable items from 'Intuitive CPT' menu of Setting menu in WordPress.
-
Contact Form 7
Contact Form 7 can manage multiple contact forms, plus you can customize the form and the mail contents flexibly with simple markup. The form supports Ajax-powered submitting, CAPTCHA, Akismet spam filtering and so on.
-
Mailchimp for WordPress
MailChimp for WordPress, the absolute best. Subscribe your WordPress site visitors to your MailChimp lists, with ease.
-
Autoptimize
Autoptimize speeds up your website and helps you save bandwidth by aggregating and minimizing JS, CSS and HTML.