First Steps
Installation
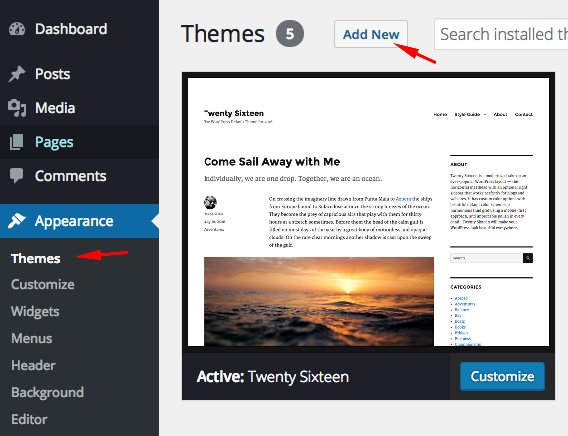
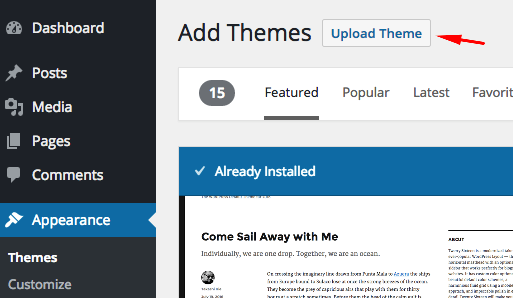
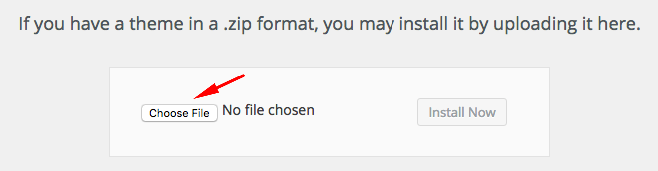
The first thing you need to do when you want to install a new WordPress theme is to login to your site admin page. Once there, go to Appearance -> Themes. Here, you will see all the themes you have currently installed in your application. To add another one, simply click on the Install Themes tab. Upload the zip file from your local hard drive.
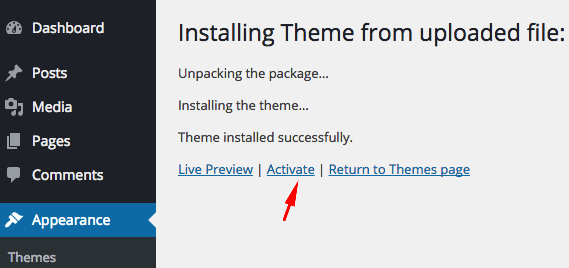
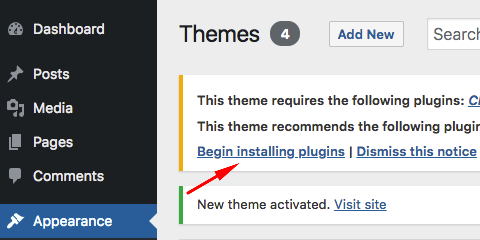
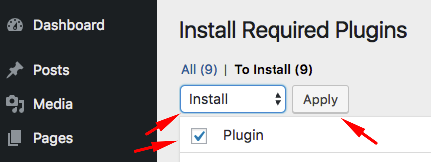
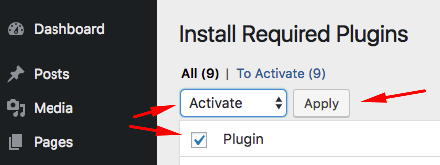
If you want to use the theme with all available features (Custom post types,shortcodes,widgets,page builder...etc), you should upload and activate all the required plugins. After the installation of the theme, you will see a message about this. Click "Begin Installing Plugins", install the plugins and activate them.
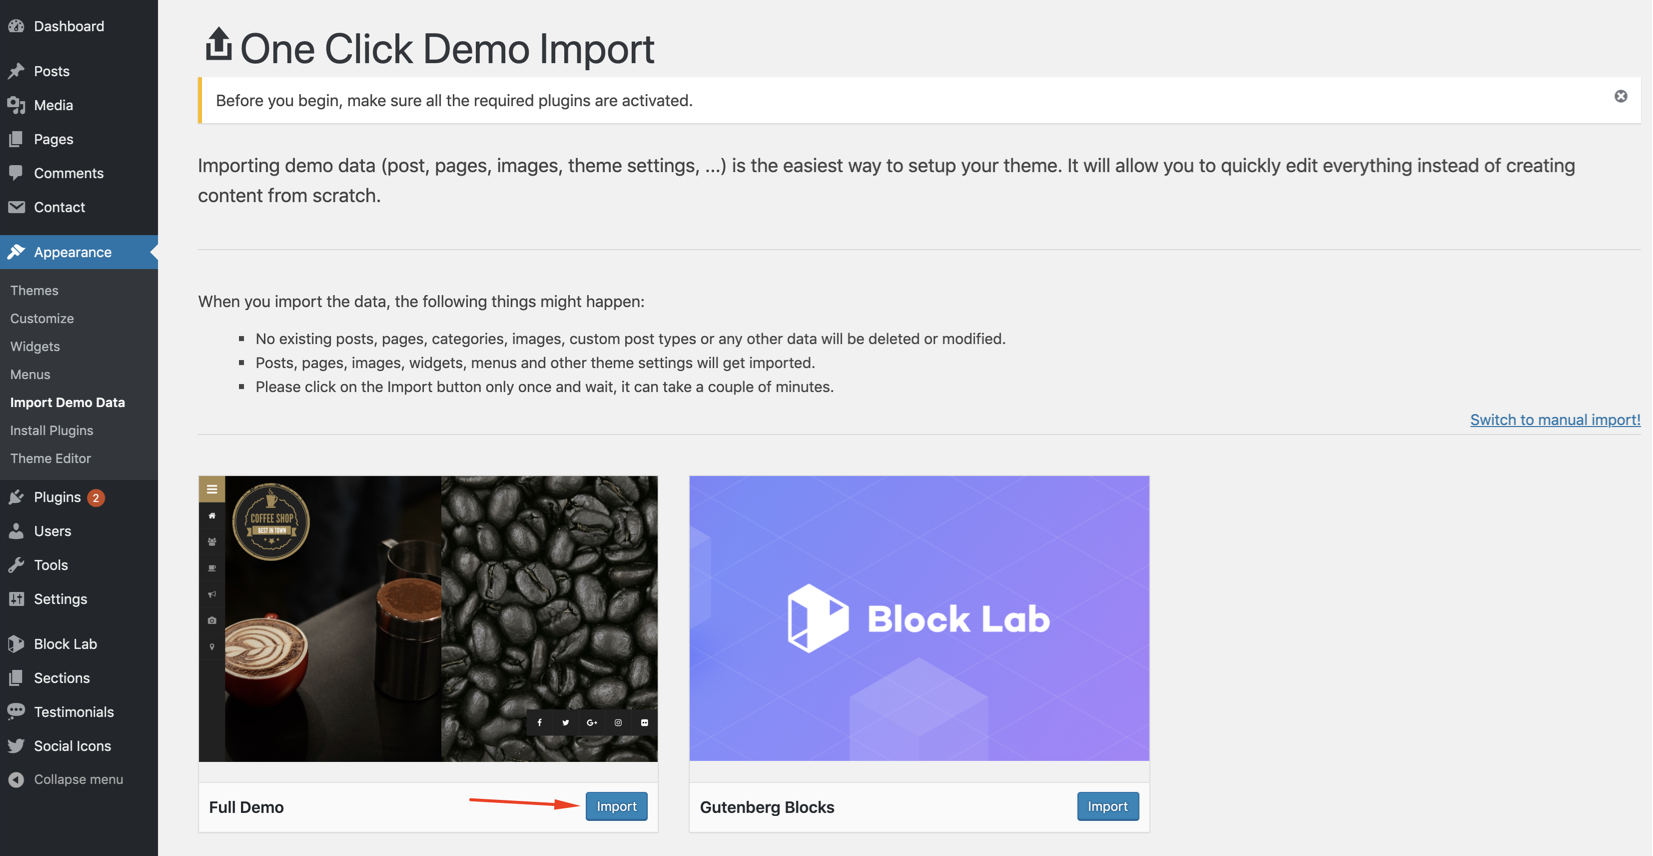
Loading Demo Content
Go to Appearance->Import Demo Data. To upload the demo completely, click on the full demo import button only once and wait, it can take a couple of minutes.
Full demo already contains custom Gutenberg blocks. So you don't need to upload Gutenberg blocks again. This option is only for the people who don't want to upload everything.
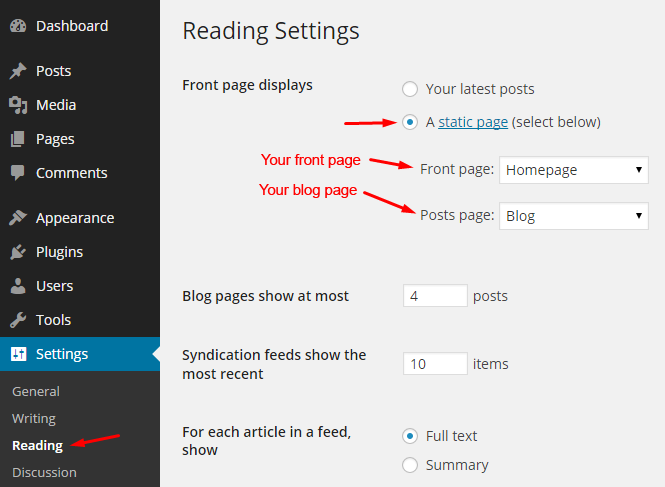
Creating Front Page & Blog Page
First of all, you should create a blank page with Homepage template. It will displays the sections (Sliding pages) at your homepage.
After that, go to Settings->Reading and select in the drop-down box this page for the front page display.
To create a blog page, create another blank page (select default page template).
After that go to Settings->Reading and select in the drop-down box the name of the Page that will now contain your Posts. If you do not select a Page here, your Posts will only be accessible via other navigation features such as category, calendar, or archive links.

Adding Logo
You can upload your logo from Appearance->Customize->General.
You can play with logo width and padding to change the size of the logo.
Creating Menu
You can create menus from Appearance->Menus page.
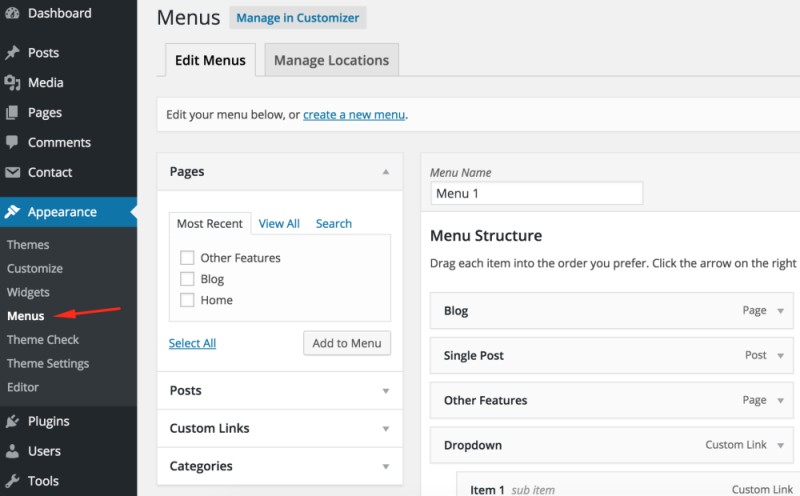
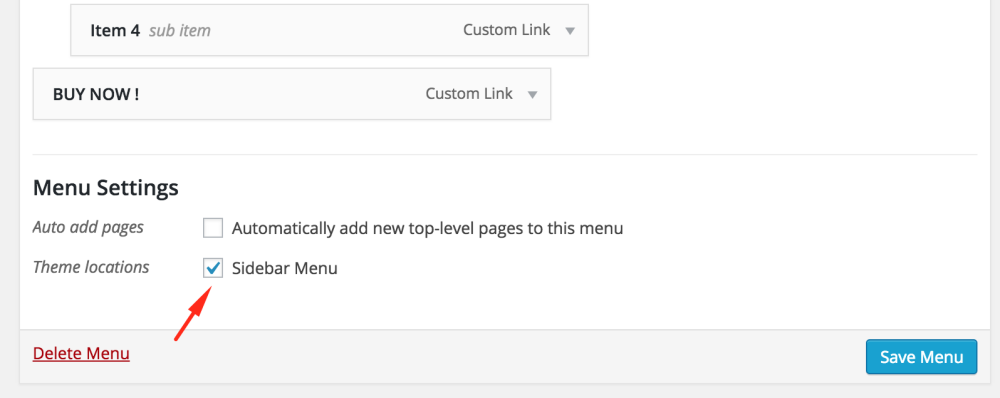
After creating the menu, you should manage your menu location (Sidebar Menu).It will be displayed in the sidebar.
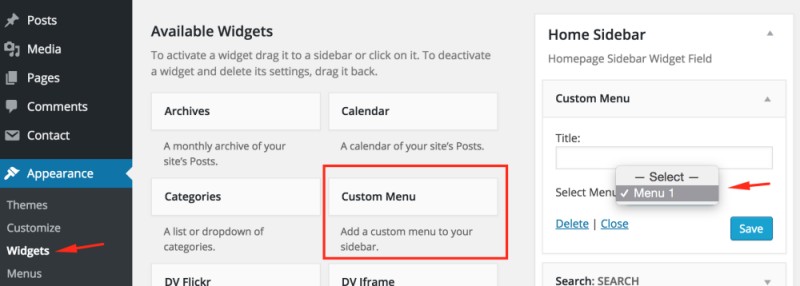
Another way to use a WordPress menu is using custom menu widget. You can use this widget to add your menus to any widget area.
For more information about WordPress menus, please read the WordPress menu guide;
WordPress Menu GuidePage Templates
- Default Template
- This is the standard full width page template.
- Homepage
- You should create a blank page with this page template to display the sections at your homepage. For more information please look at the selecting front page section.
- Page XL
Default page layout is 50% image - 50% content. This ratio is 30%-70% on page XL template.
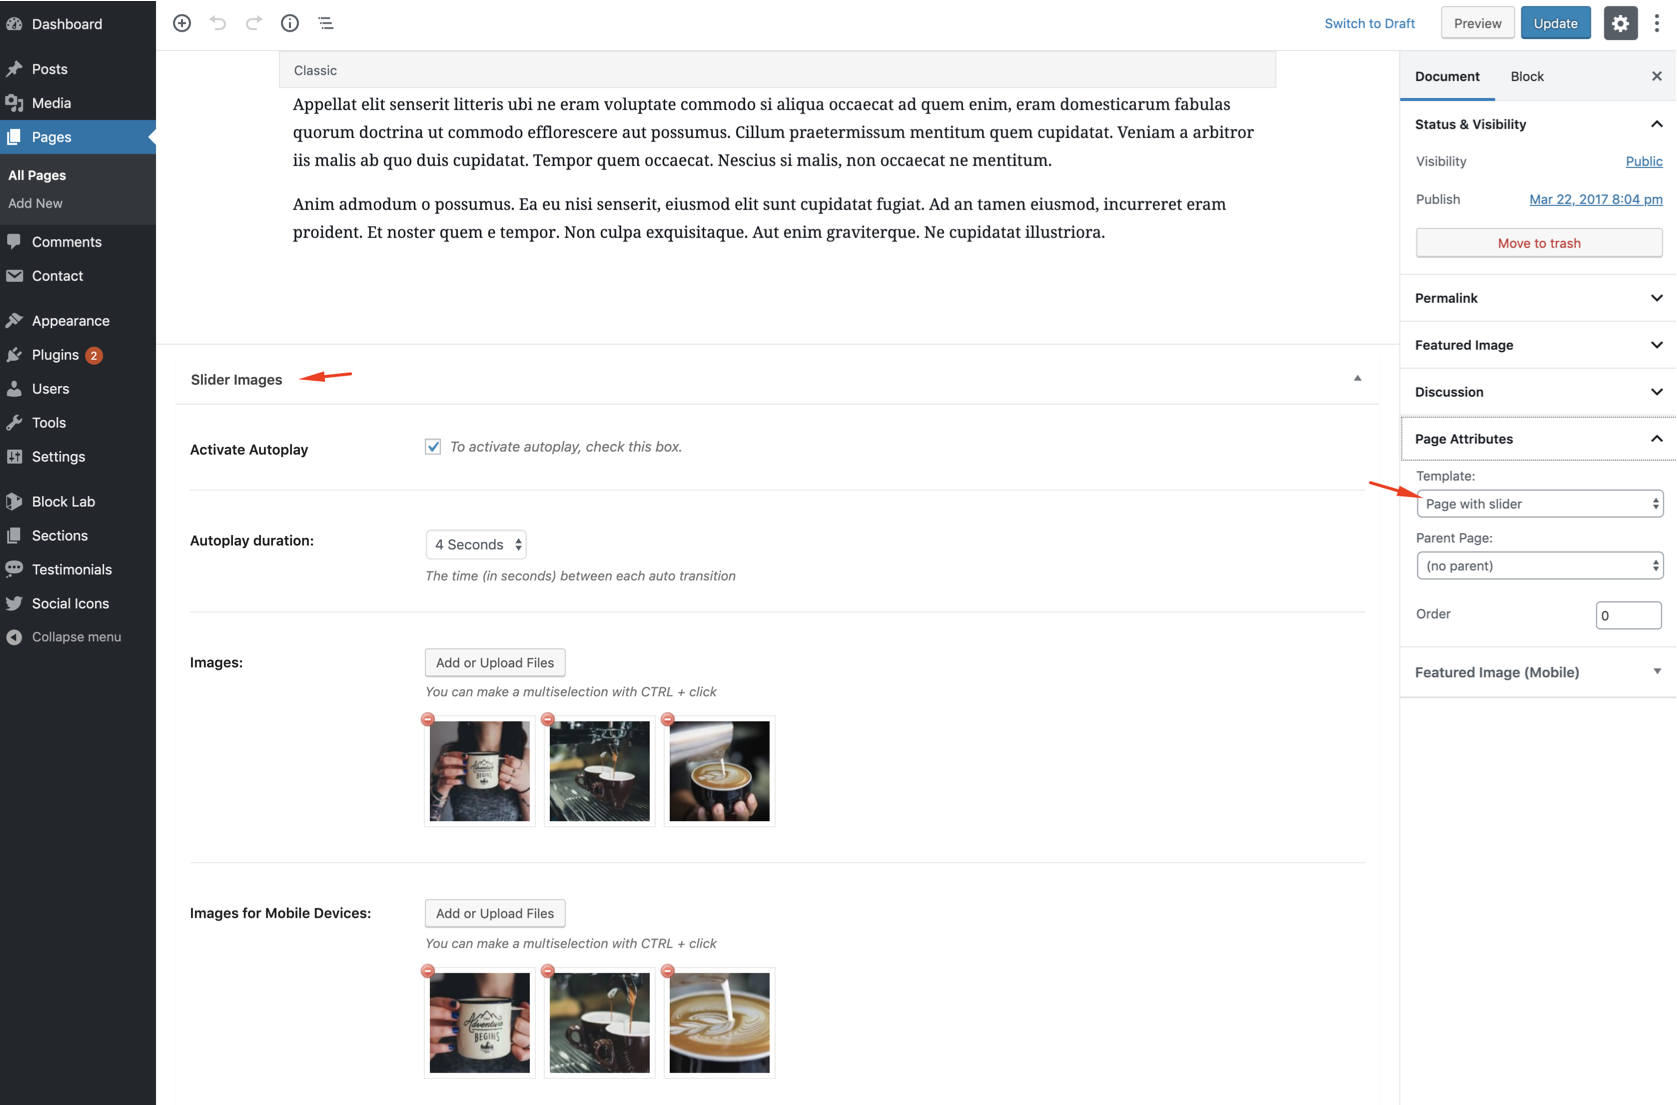
- Page with Slider
- You can use page with slider template to create a page with an image slider.
Sidebar
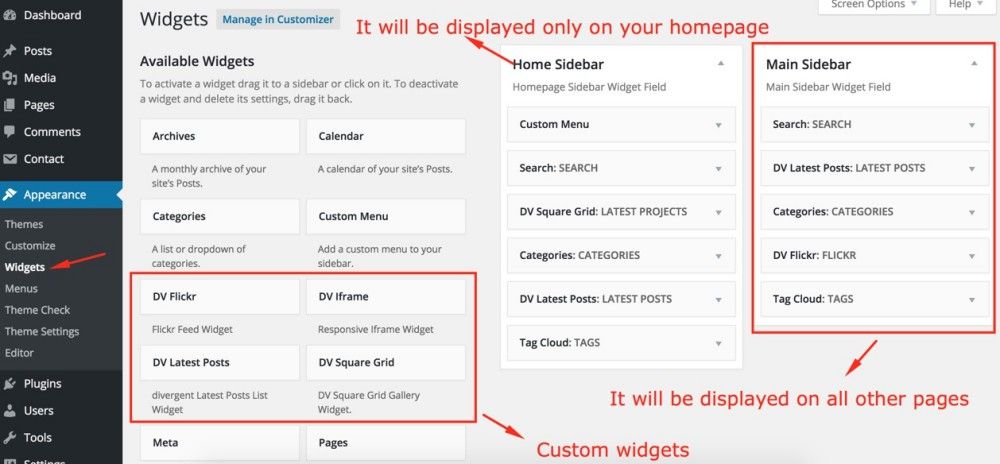
There are 2 widget area in Coffee Shop.
Sections
Sections are the parts of your homepage. To display these sections first of all you should create a blank page and select "homepage" page template. All your sections will be displayed on this page.
Adding Sections
Title: It will be displayed as a tooltip on the right side of the menu icon
Menu Icon: This icon will be displayed on the left side of your website.
Text Editor: You can add text,image,shortcode etc. to this field like on the standard WordPress pages.
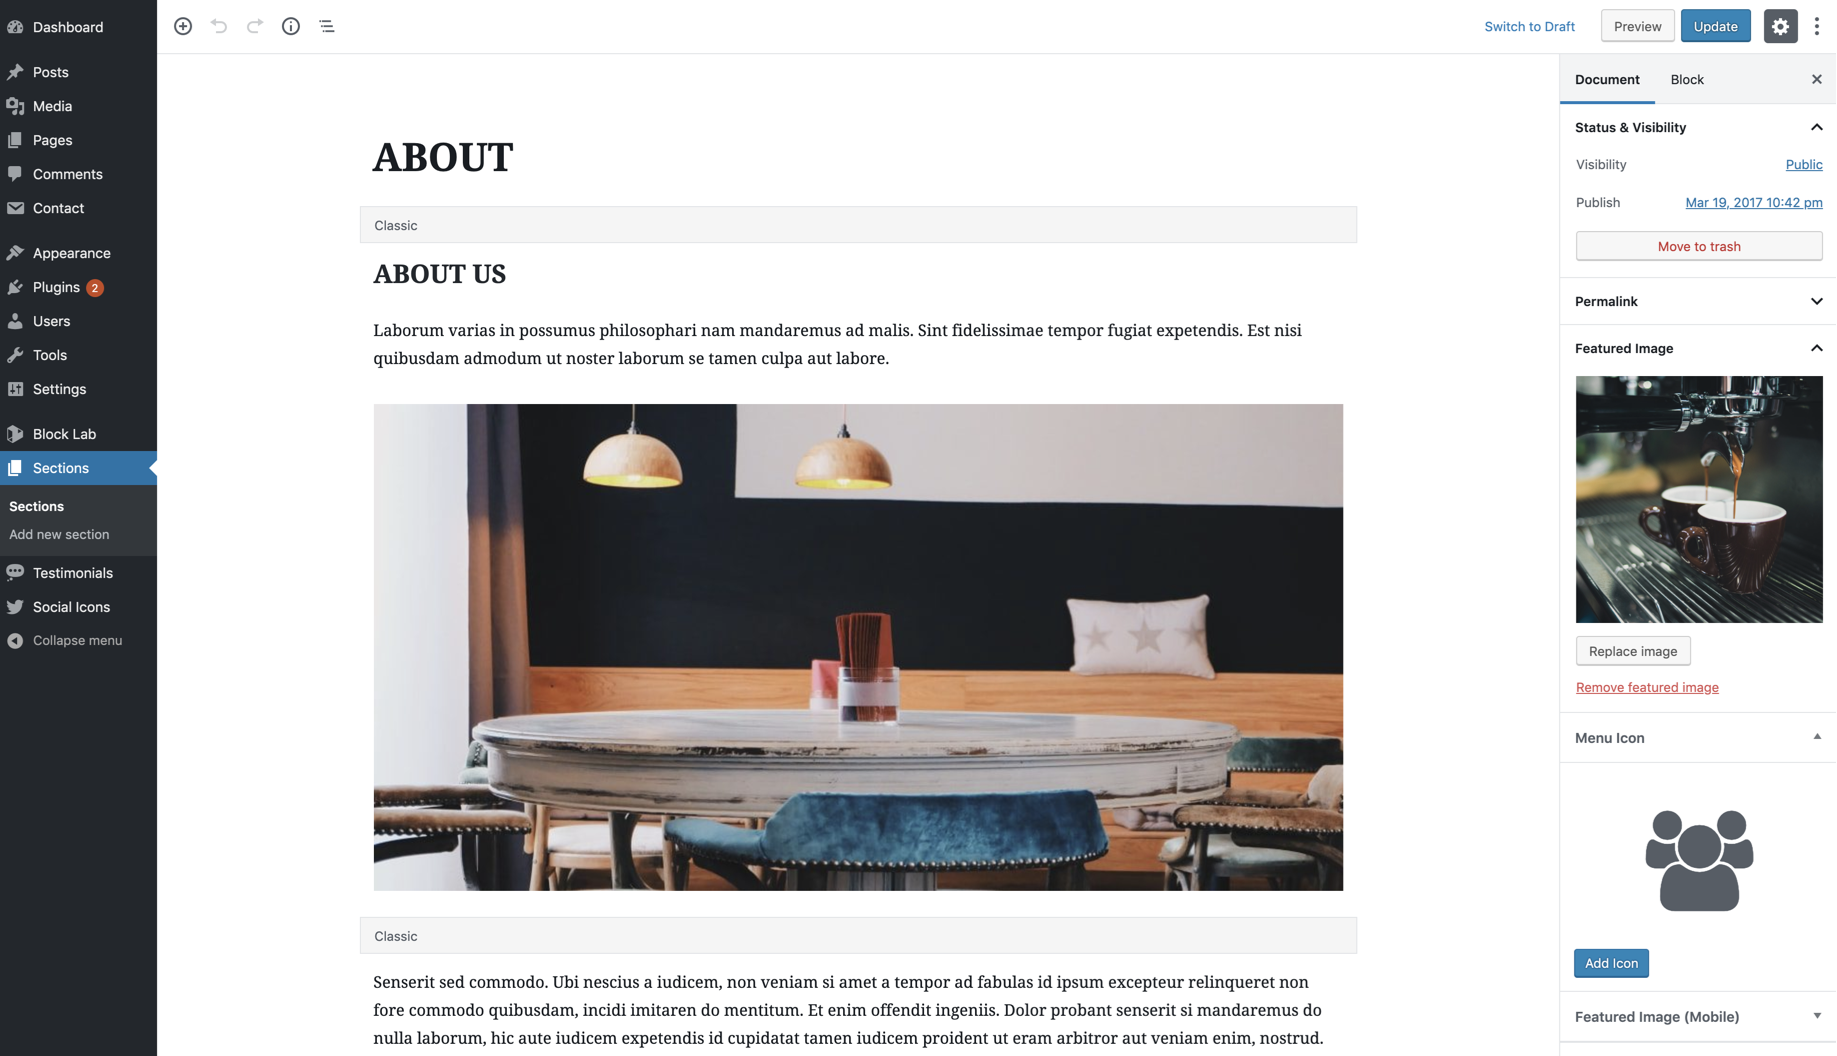
Featured Image: It is the image which is on the left side of your website on PCs, laptops etc. If you don't add any featured image, default image will be displayed (Appearance->Theme Settings->Featured Image->Default Image)
Second Featured Image: It will be displayed on mobile devices (Optional). Recommended image size is 1000x400 px.
Google Map: If you want to add a Google Map instead of an image to the left side of the section, first check "Activate Google Map" box. After that add your latitude and longitude.
To find your coordinates click here
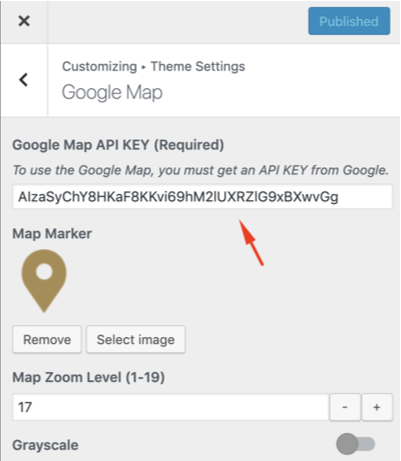
To use the Google Map, you must get an API KEY from Google and add this key to the theme settings.
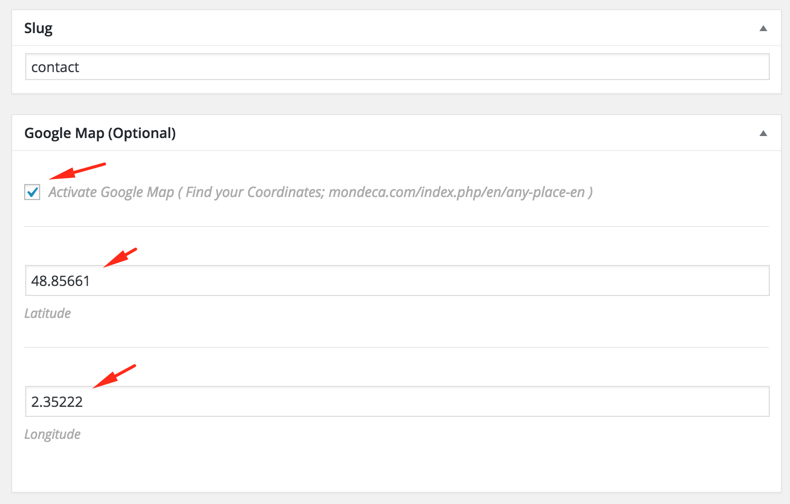
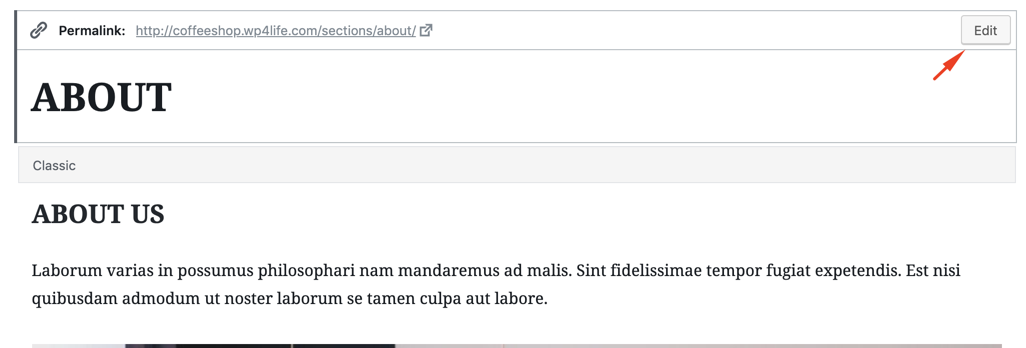
Slug: It is the part of the section link. You can edit it as you want.
How to change the order of the sections?
You can use the following plugin to change the order of the sections.
Testimonials
To create a testimonial, click Add new testimonial link.
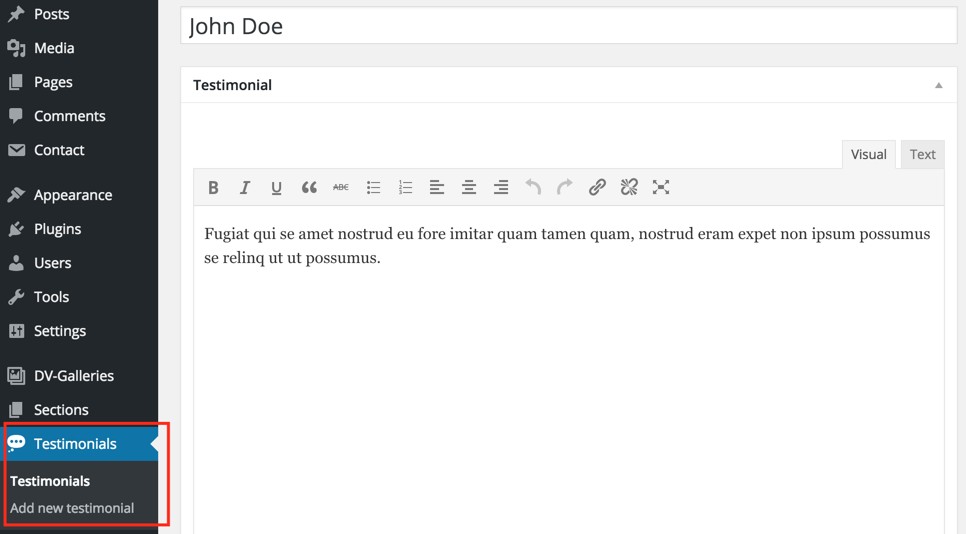
You can use Gutenberg Testimonials block to add the testimonials to any post, page or section.
How to change the order of the testimonials?
You can use the following plugin to change the order of the sections.
Customizer
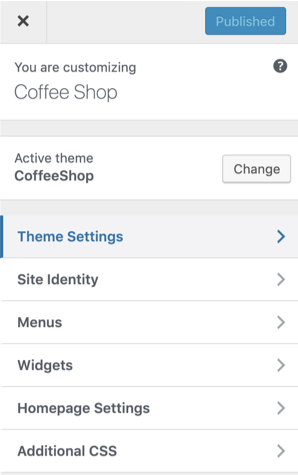
With WordPress Customizer, you can drastically change the appearance and functionality of your website from one, manageable interface. That includes making changes to page elements including your site title, theme settings, background image, colors, menus etc.
You can find all theme settings in Appearance->Customizer->Theme Settings.
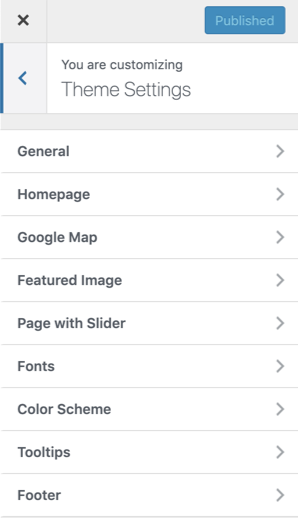
1) General
Custom CSS: You can use this field to add your own css codes.
Logo: The main logo of your website. It will be on the left side of your website.
Logo (Mobile): You can add a logo into the sidebar for mobile devices. Recommended mobile logo size is 480x130px.
Width of the logo: Maximum width of your main logo.
Activate CSS Loader: To disable loading image and activate css loader (Coffee Mug), switch on.
Loading image (80x80 px): You can upload your own loading image.
Second Loading image (64x64 px): Gallery loading image.
You can create your own loading image at Preloaders
Pattern: As default, there is a pattern at the background of the pages. You can enable/disable it or upload your own pattern. You can create your own pattern at Flaticon
Hide Sidebar: If you don't want to display sidebar, check this box.
Sidebar Icon: The icon of the sidebar button.
XL Single Posts: To use Page - XL Template on single posts, check this box.
Remove Meta Data: If you want to remove meta data (Author name, categories, tags) from single post pages, check this box.
Remove Social Sharing Buttons: There are social sharing buttons at the bottom of the single post pages. To remove them, switch on.
2) Homepage
First section of the homepage is static. You can setup this section from this tab.
There are also two image field. One of them is on the left side of the page, other one is on the right side of the page.
How to add social media icons?
3) Google Map
There is a Google Map option on the sections. To use this feature, first of all you must get an API key from Google (It is free).
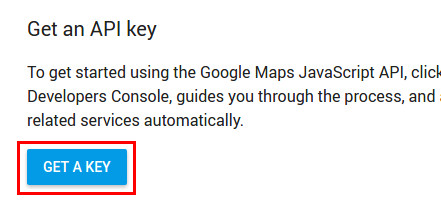
How to Get an API Key
1. Follow this link and click on Get a key:
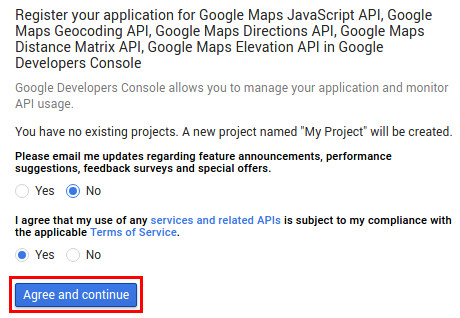
2. Agree with the service Terms of Service:
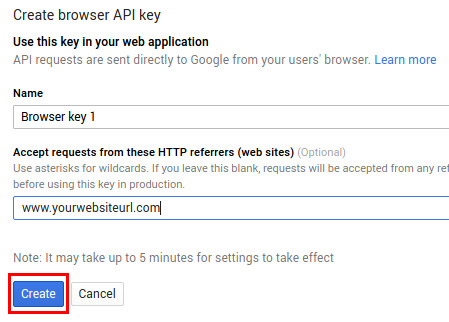
3. Choose a name for your new key and specify the websites on which the key usage will be allowed. If you don’t need any website restriction, just put an * in that field (but don’t leave it blank, unless you are having issues with *!). Then click on Create:
4. Copy paste the key to the theme settings
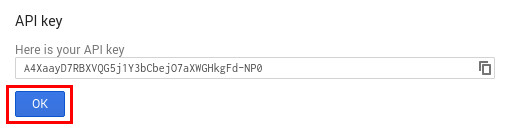
5. Your API key should be up and running within 5 minutes.
4) Featured Image
Default Image: If you don't add a featured image to a post/page, this image will displayed.
Blog Image: This image will displayed on all standard WordPress like blog,archive,search,404 etc.
Blog Thumbnail Height: The height of the featured image. Width is 100%;
5) Page with slider
This section contains the general settings of the slider which is on the "page with slider" page template. For more information please look at the page templates section
6) Fonts
You can change default font families and sizes from this section.
7) Color Scheme
You can change all colors of the theme easily with colorpickers. The colors of the theme are grouped. For example if you change the first color (default color is black),all black fields will be that color on the theme.
8) Tooltips
There are animated tooltips at menu icons, social icons and go to top button. You can disable/enable these tooltips or change the animations from this section.
9) Footer
Hide Footer: To hide footer (Copyright message and "go to top" button). check this box.
Footer Text:If you don't want to add a copyright message to your website, leave this field blank.
Gutenberg
In WordPress 5.0, the classic content editor was replaced with a brand new block editor, known as Gutenberg. If you are an unexperienced Gutenberg user, we suggest you to read the following article;
How to Use the New WordPress Block EditorGutenberg Gallery Block
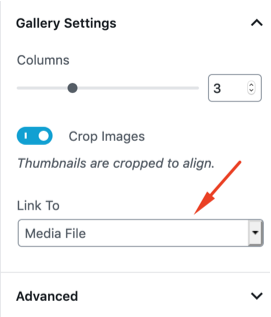
You can create image galleries using Gutenberg gallery block;
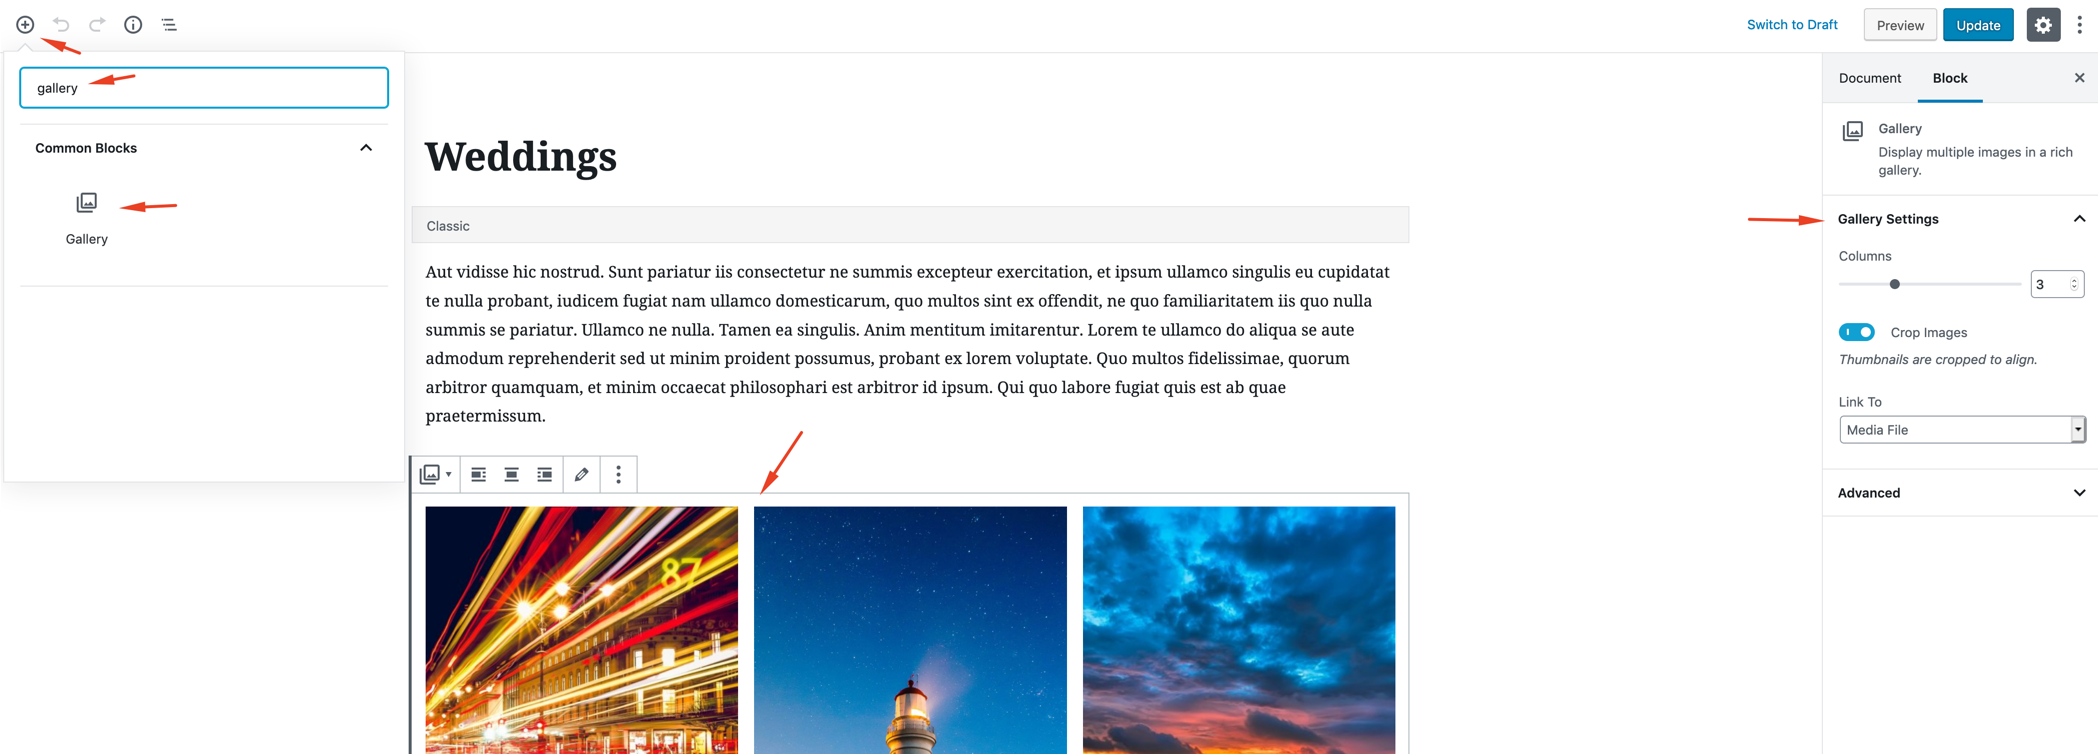
To enable lighbox, you should link the gallery items to the media files (Lightbox with PhotoSwipe plugin is required);
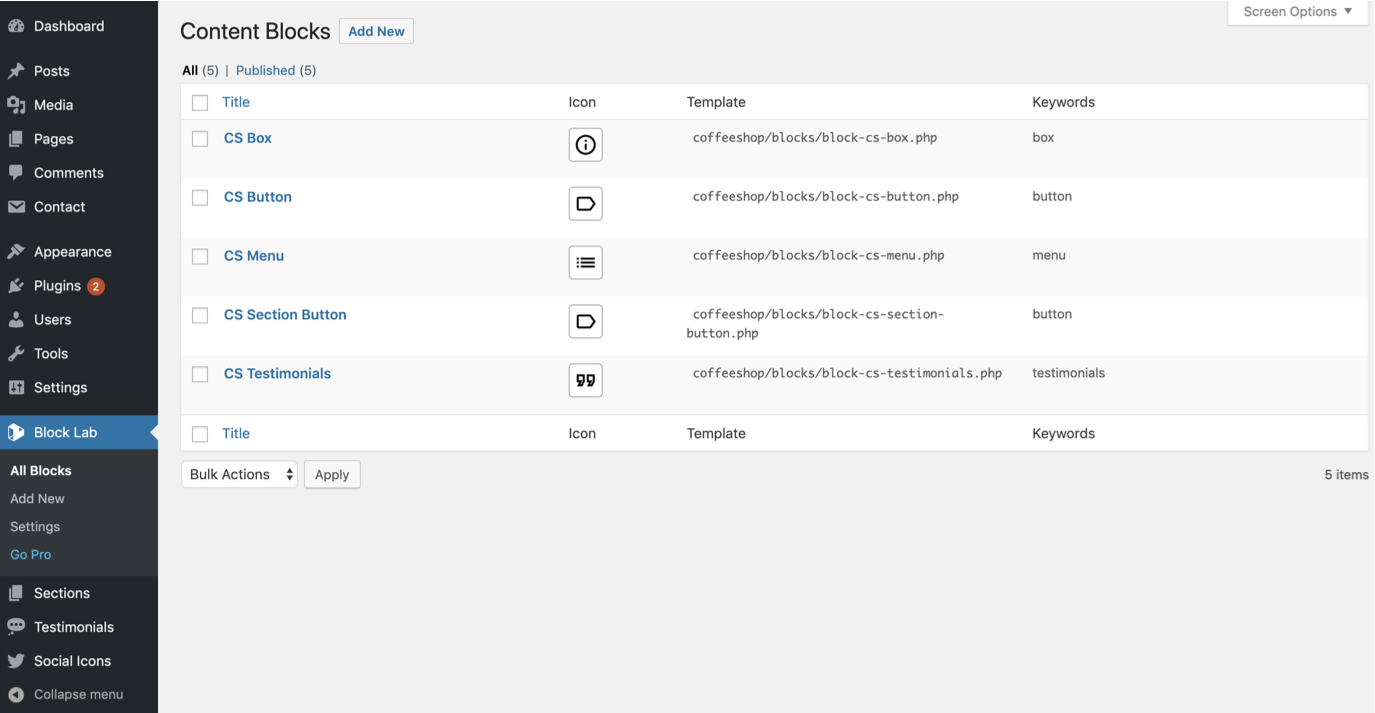
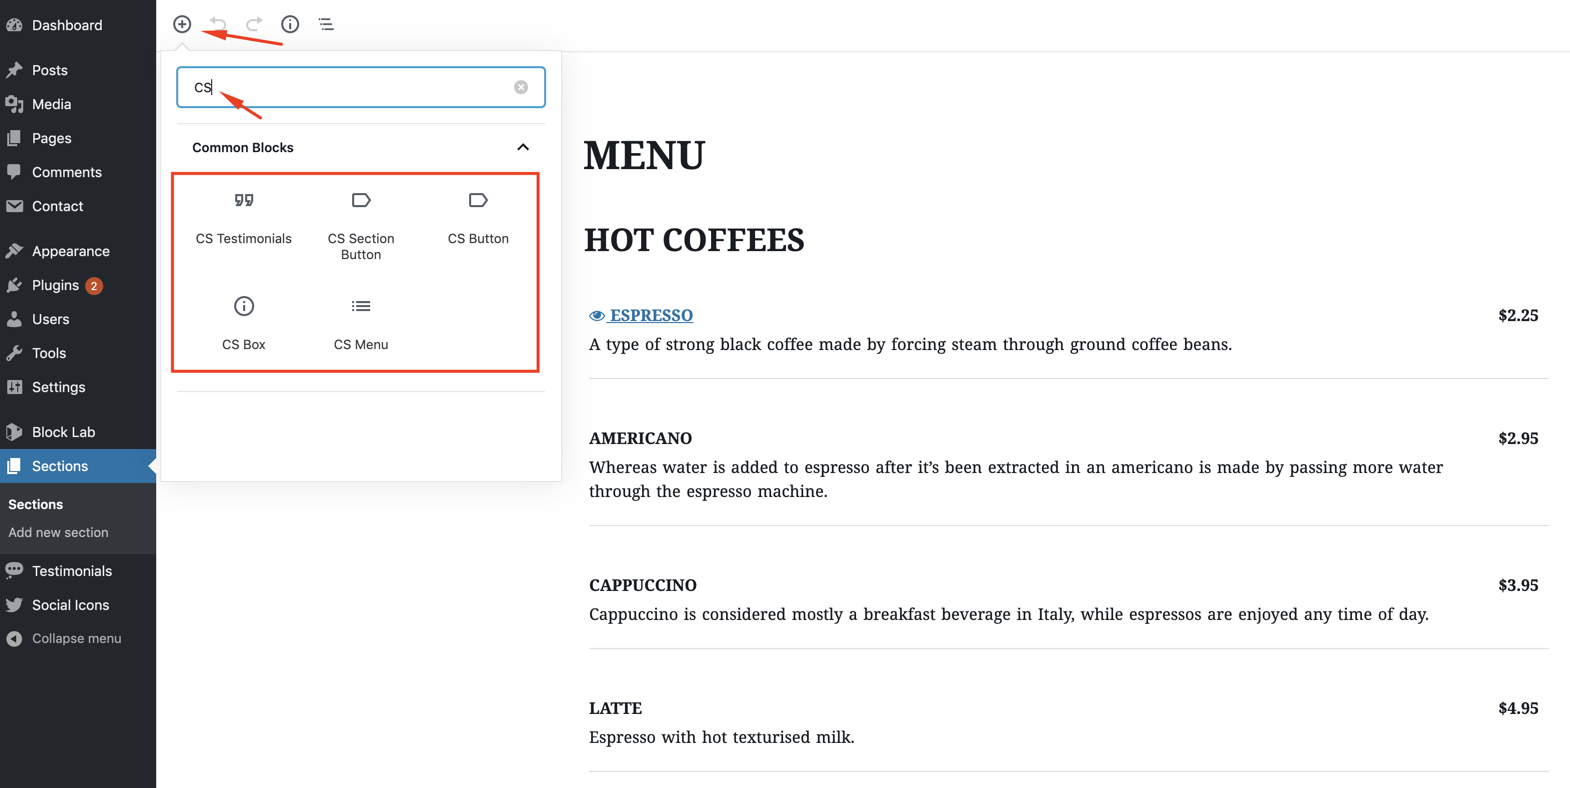
Custom Blocks
We made some custom Gutenberg block using Block Lab plugin which is in the theme package. You should upload the the demo content and upload&activate Block Lab plugin to use these custom blocks.
Compatibility
Coffee Shop is compatible with the following plugins;
-
Block Lab
Block Lab reduces the development burden of building custom blocks through a simple and familiar WordPress Admin interface and an easy to learn templating system.
-
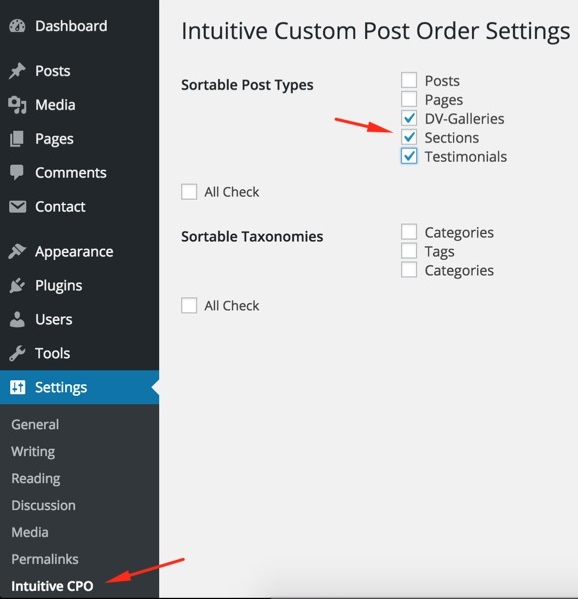
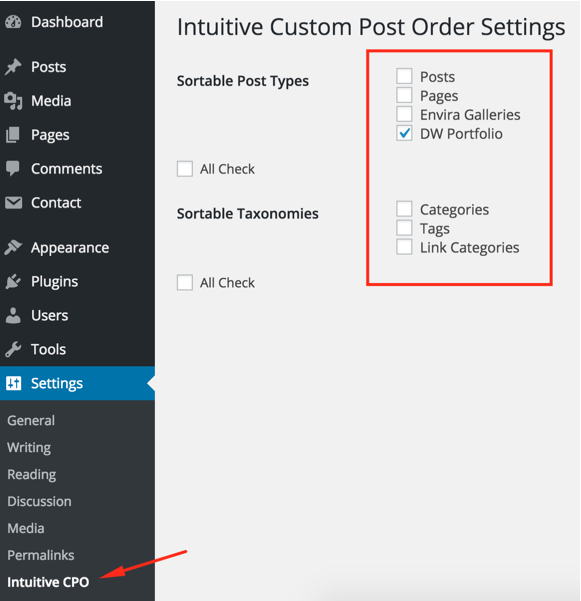
Intuitive Custom Post Order
You can use this plugin to change the order of the custom post types. After the plugin activation, you should select sortable items from 'Intuitive CPT' menu of Setting menu in WordPress.
-
Contact Form 7
Contact Form 7 can manage multiple contact forms, plus you can customize the form and the mail contents flexibly with simple markup. The form supports Ajax-powered submitting, CAPTCHA, Akismet spam filtering and so on.
-
Lightbox with PhotoSwipe
This plugin is a simple integration of PhotoSwipe to WordPress.
-
Autoptimize
Autoptimize speeds up your website and helps you save bandwidth by aggregating and minimizing JS, CSS and HTML.
Social Icons
You can add social media icons to your homepage. Just fill the required fields and click "Add Another Icon" to add a new icon or click "Save".